| Table of Contents |
|---|
Create Override/Alarm Report
We created a Create Override/Alarm Report form tool that allows the user to be able to generate reports regarding alarms and overrides and email them to any user with a valid email.
How to use Create Report
First the finHtmlReporting.pod file needs to be added to "fan" folder located within the "lib" folder of the FIN Stack folder directory. Contact support regarding the finHtmlReporting.pod.
The user must also set up email SMTP settings. As well as enabling the finHtmlReporting and html2pdf extensions.
The user will then go in the Folio app.
 Prerequisite:
- You'll need the finHtmlReporting pod and have it enabled. Refresh browser after enabling.
- You'll also need to have the Email SMTP settings configured in the Host > Settings . Then make sure a user has a valid email to receive the reports.
- You'll also need to enable the html2pdf extension.
How to use Create Override/Alarm Report
The user will go to the FIN Reports app.

Then, once inside the app, the user will select Tools in the top menu bar. Inside the drop down menu, there is going to be an option called "Create Report". Create Override/Alarm Report.

After selecting that, the form pop up will come up.


The required fields to fill out will be:
- Choose your template: You won't need to touch this as it will automatically have the Select site_report.hbs template selected by default as the template. This is the standard template we use for the report.
- Choose your header image (optional): This will populate the file images you tagged with a 'siteReportHeader' marker tag (you will have to click on the image to select it).
- Data used for the report: You won't need to touch this either as this is the function used to gather the data for your report (to see, run 'reportData()' in folio).
- File (mark to save in folio): Select this box to save the report in folio so that you can download and store it locally on your machine. (You can query for them by running "file and report" in folio)
- Name of the report: This will be the display name shown on the report in the email and in the folio file if choosen chosen to save it in FIN.
- Email (Mark to send report via email): Select this box to enable email option to a user.email reports, otherwise just creates a report in the background and doesn't get emailed.
Note: If unchecked and then decided to use that report, the user would have to find that job in the Jobs app and edit it. They want to change the sixth parameter of the func to true. That way when the job runs it will send out the email. Else, delete this job and recreate the report. - To email addresses: add Add email addresses separated by comma.
- Email Subject: The This will be the subject of the email.
- Format: HTML or PDF.
- Create job: none, daily, weekly, monthly. If you choose none, the email will send immediately. If a job is chosen, the email won't be sent until midnight unless reconfigured in the job applicationapp to run at a different frequency.
After you apply those changes, it will send the email based on what was selected.
...
| title | Header Image |
|---|
Upload your logo image into Folio->Files and add a 'siteReportHeader' marker tag on the image you uploaded.
...
.
Report Logo Setup
To upload an image to use for the report, the user will follow the below steps.
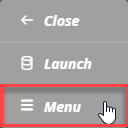
The user will first go to Folio > Menu.

Then select Files in the Folio menu.

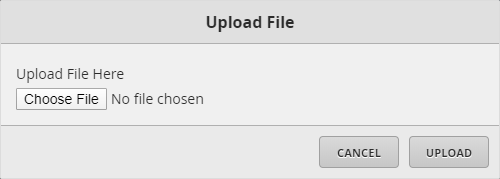
The user will then be able to find the "Upload File" option there to select.

They will then select on "Choose File" to find their image to upload.
Once an image(s) has been uploaded, the user will select "Images" in the Folio menu to find their image and tag it.

Once found, the user will select it to open the slider menu and select "View Edit".


In the Edit view, the user will select "Options" to open the slider menu and select "Tags".


In the Tags pop up, the user wants to type in "siteReportHeader" in the Name of tag field. Then select Marker as the type of tag. Then apply that tag to the image. This can be done for multiple images.

Once that is done, in the Create Override/Alarm Report tool, the user will see that image as an option to select for the report.

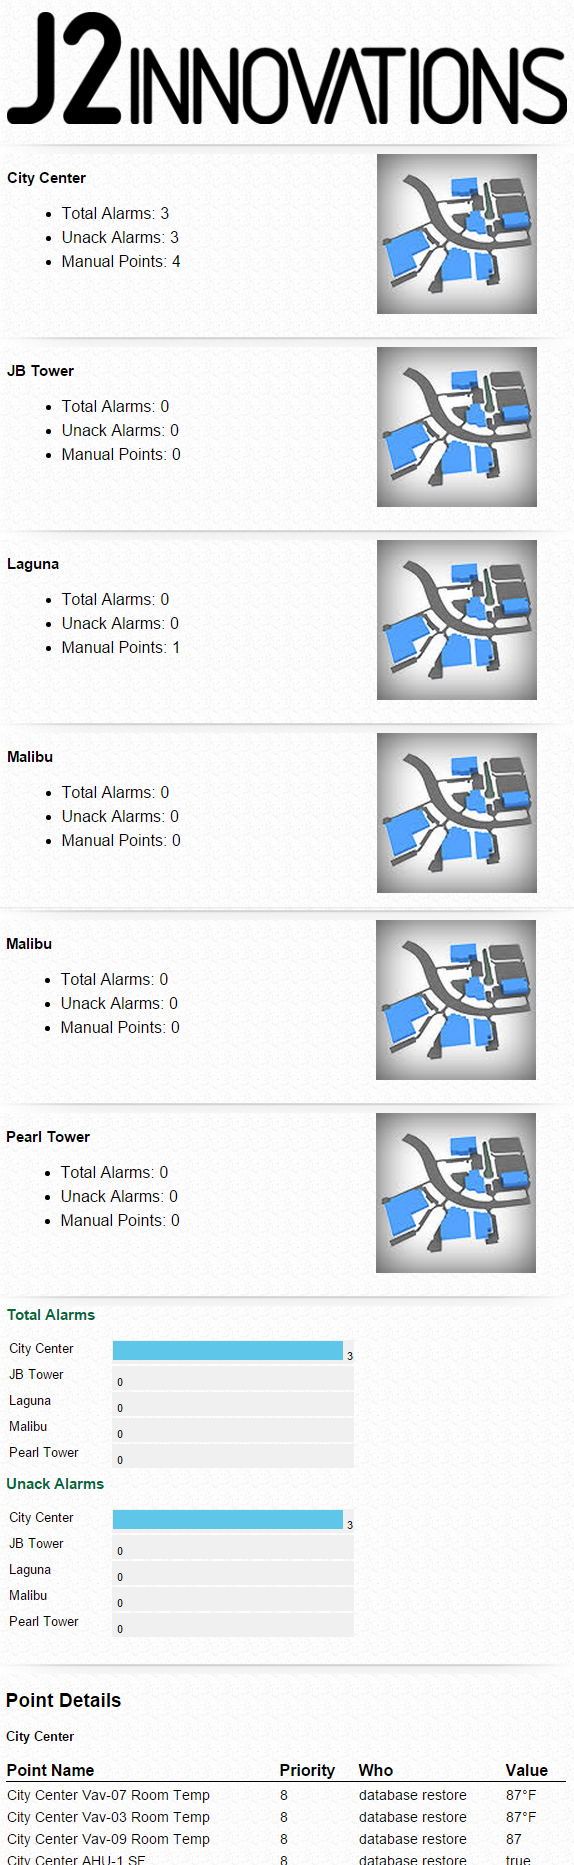
Example Report
| Note |
|---|
You can query all of your reports by typing in 'file and report' in folio. |