| Table of Contents |
|---|
Global Control
...
The user can access this tool from both Folio and DB Builder. From Folio

The user goes to Tools from the top menu and select Global Control
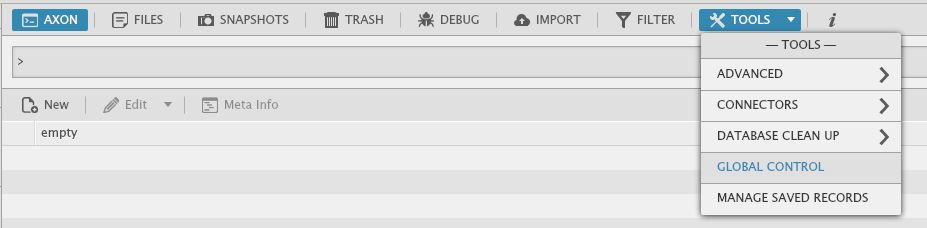
A new window will pop-up, where the user must enter specific marker tags for the points he wants to edit.
Folio
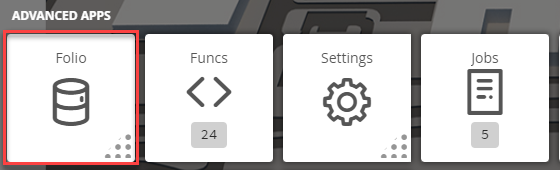
1. The user will have to select on the Folio application which is under the Advanced Apps
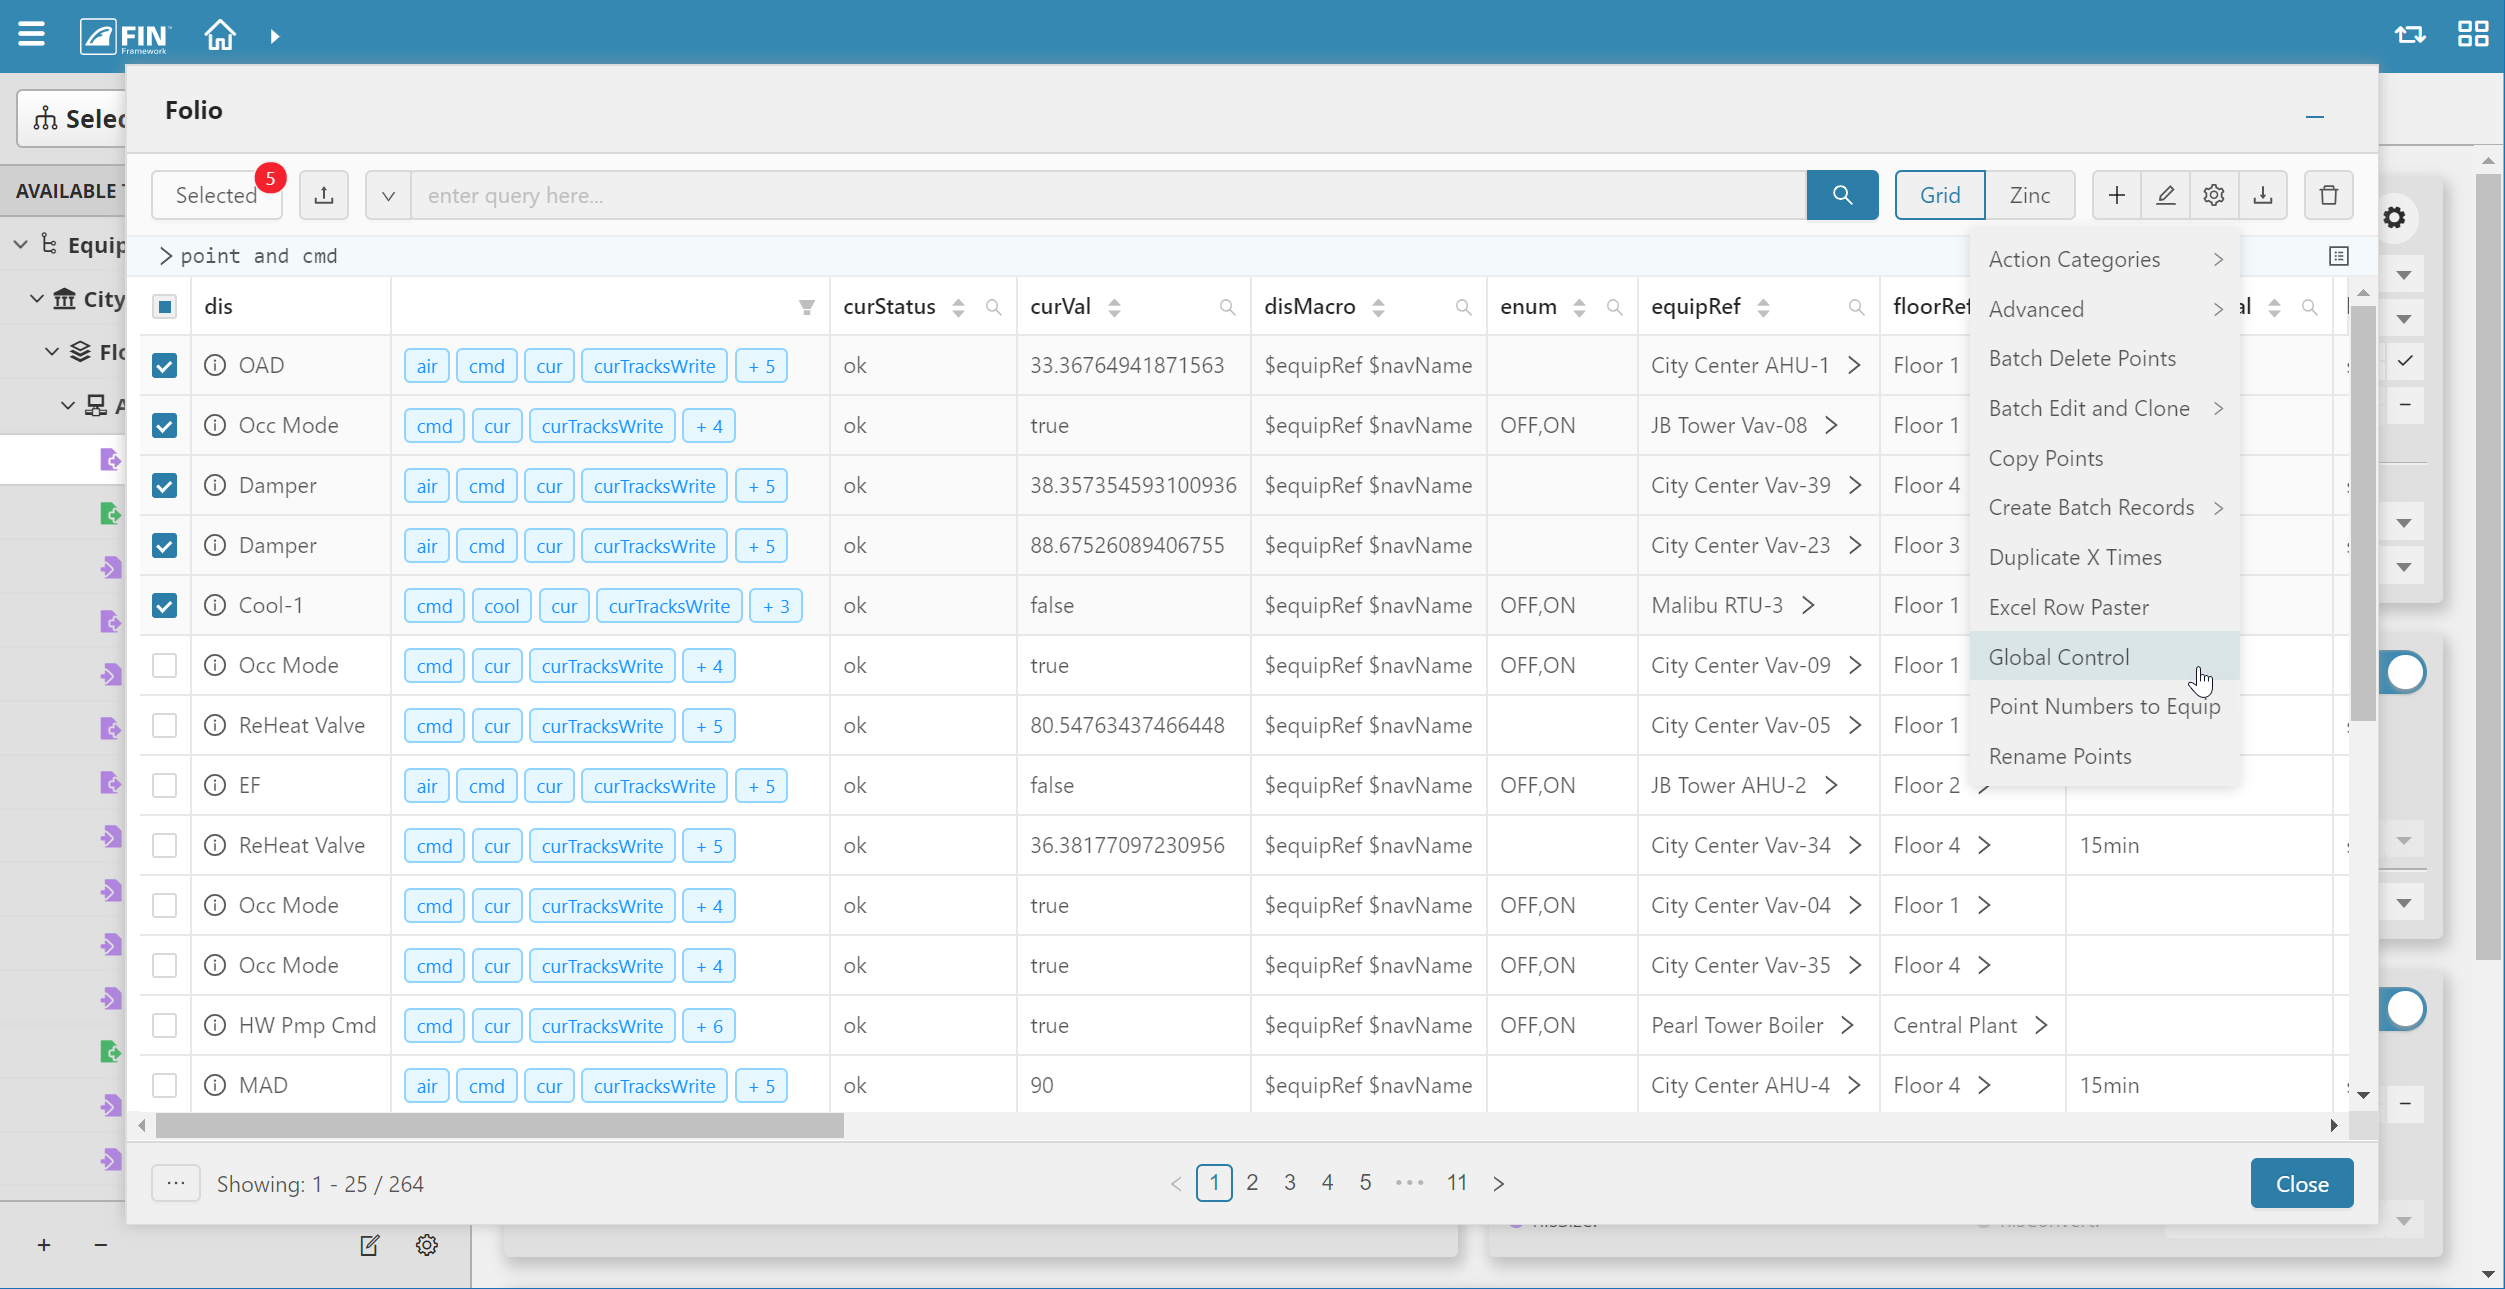
2. Once Folio has launched, the user will need to query for points.
- In this case, the user can query for point and cmd
3. When the query gets executed, the user will be displayed with a list of points. In which the user can select which points are going to be used by selecting on the checkbox option
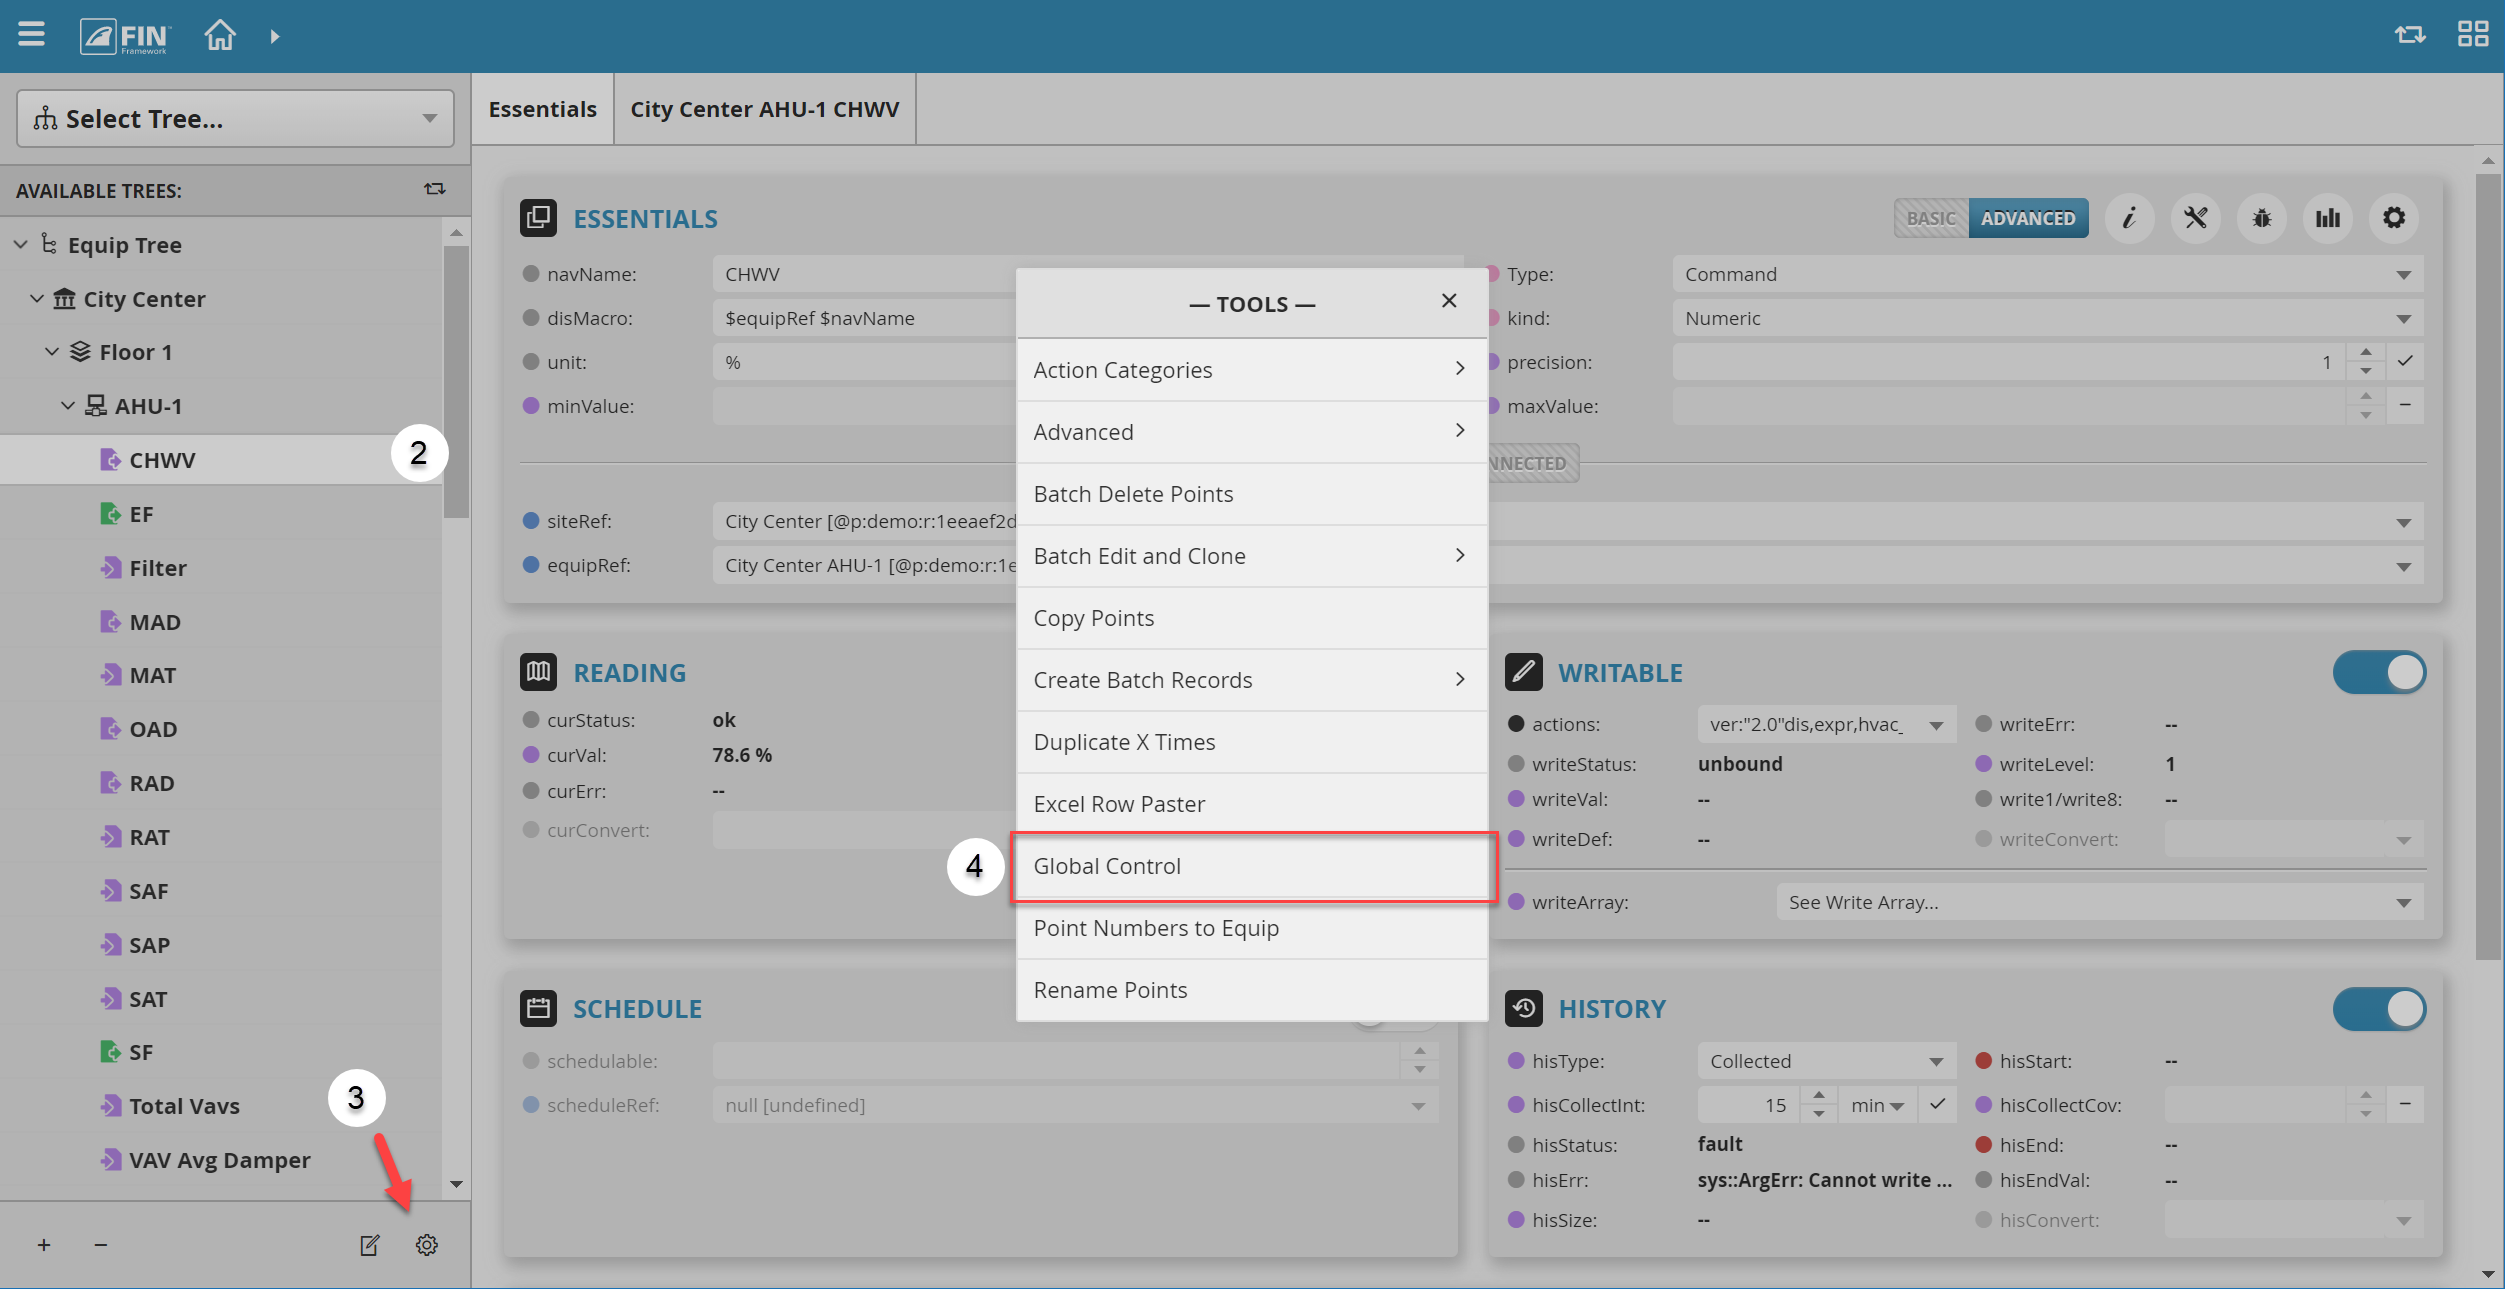
4. Then the user can select on the Tools button ![]() located on the right and select the following: Global Control
located on the right and select the following: Global Control
| Note |
|---|
In order for the Global Control tool to work, the point(s) the user selects must be of the same kind
|
...

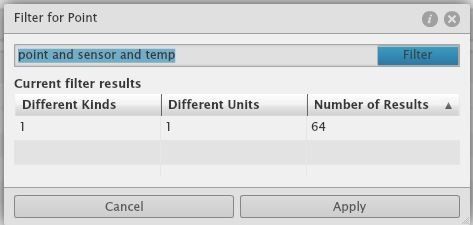
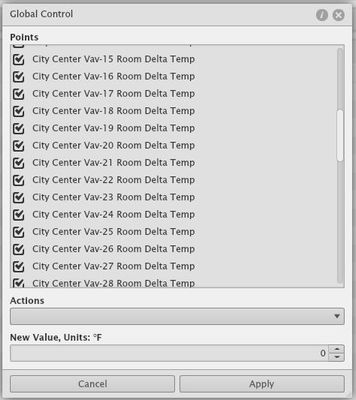
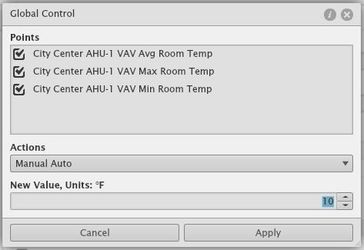
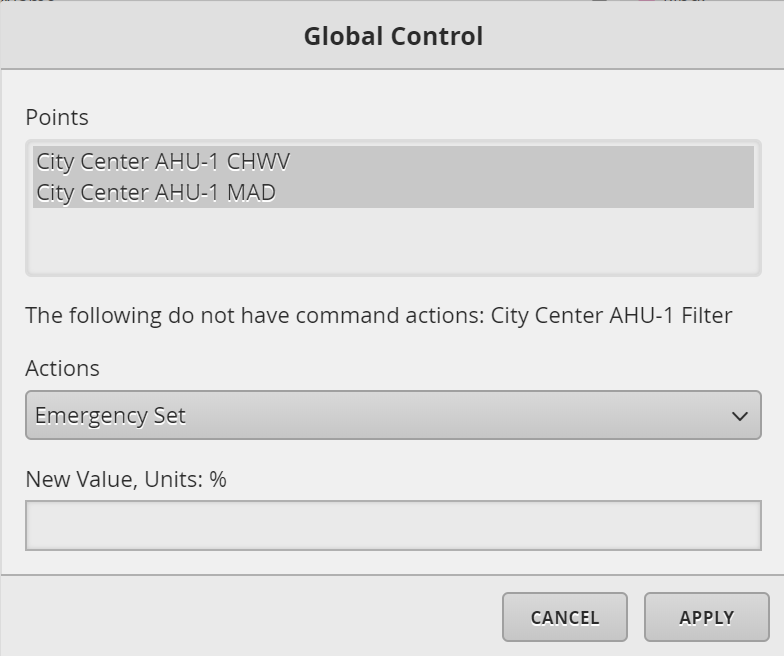
5. After hitting Apply, a new window will appear with a list of all points ready to be edited and the user can mark only the ones that he wants if not all.
- Also
...
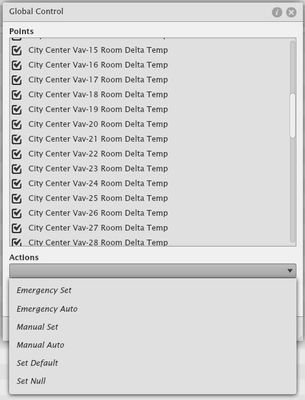
- , the user can select the level to which the change is being made
...
- Emergency Set
- Emergency Auto
- Manual Set
- Manual Auto
- Set Default
- Set Null
*These levels are different depending on the type of the points (booleans/ numeric and sensor/ setpoint/ command)
...
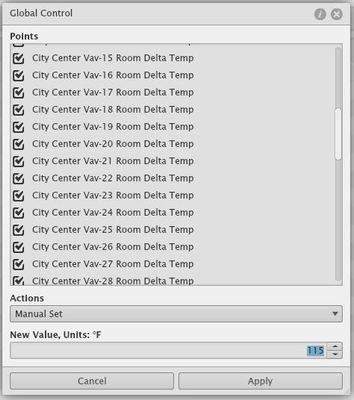
6. After that, they must fill in the field with the value (which has the unit specific to each point as you can see in the last two pictures bellowbelow)
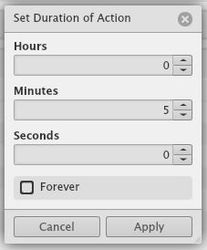
When hitting Apply a new window will pop-up allowing the user to select the duration of the change: in hours, minutes, seconds or forever
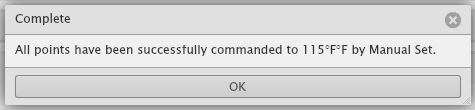
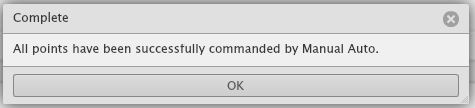
In the end a confirmation message appears
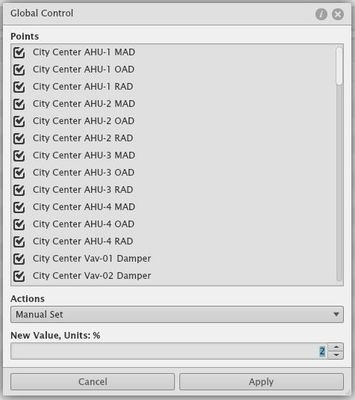
- The New Value text-box changes depending on what point(s) are being selected
| Number | Boolean |
|---|---|
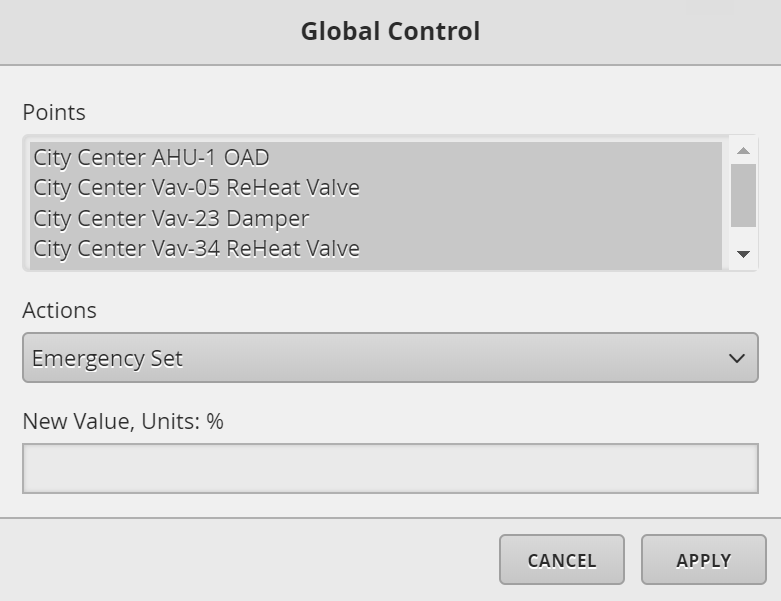 | 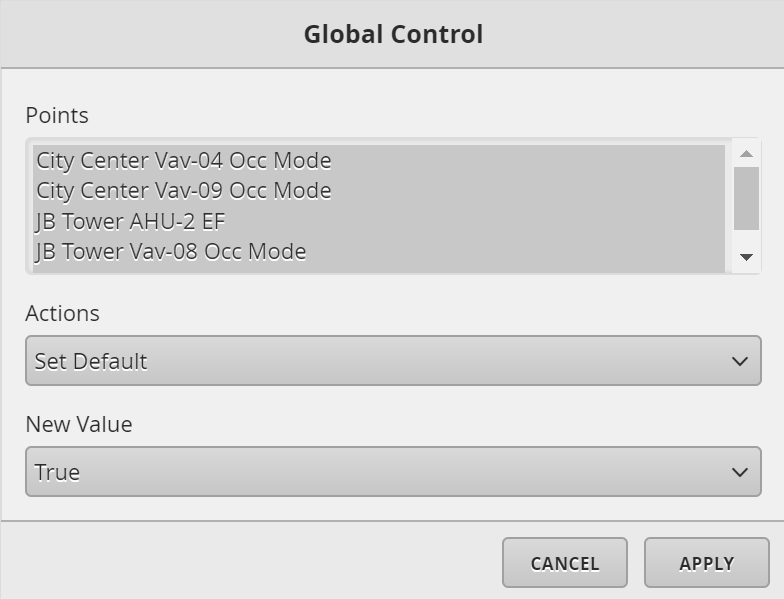 |
7. Then the user can go to the location of the points to check if the changes were made, and depending on the level to which they made the change the value will appear with different color
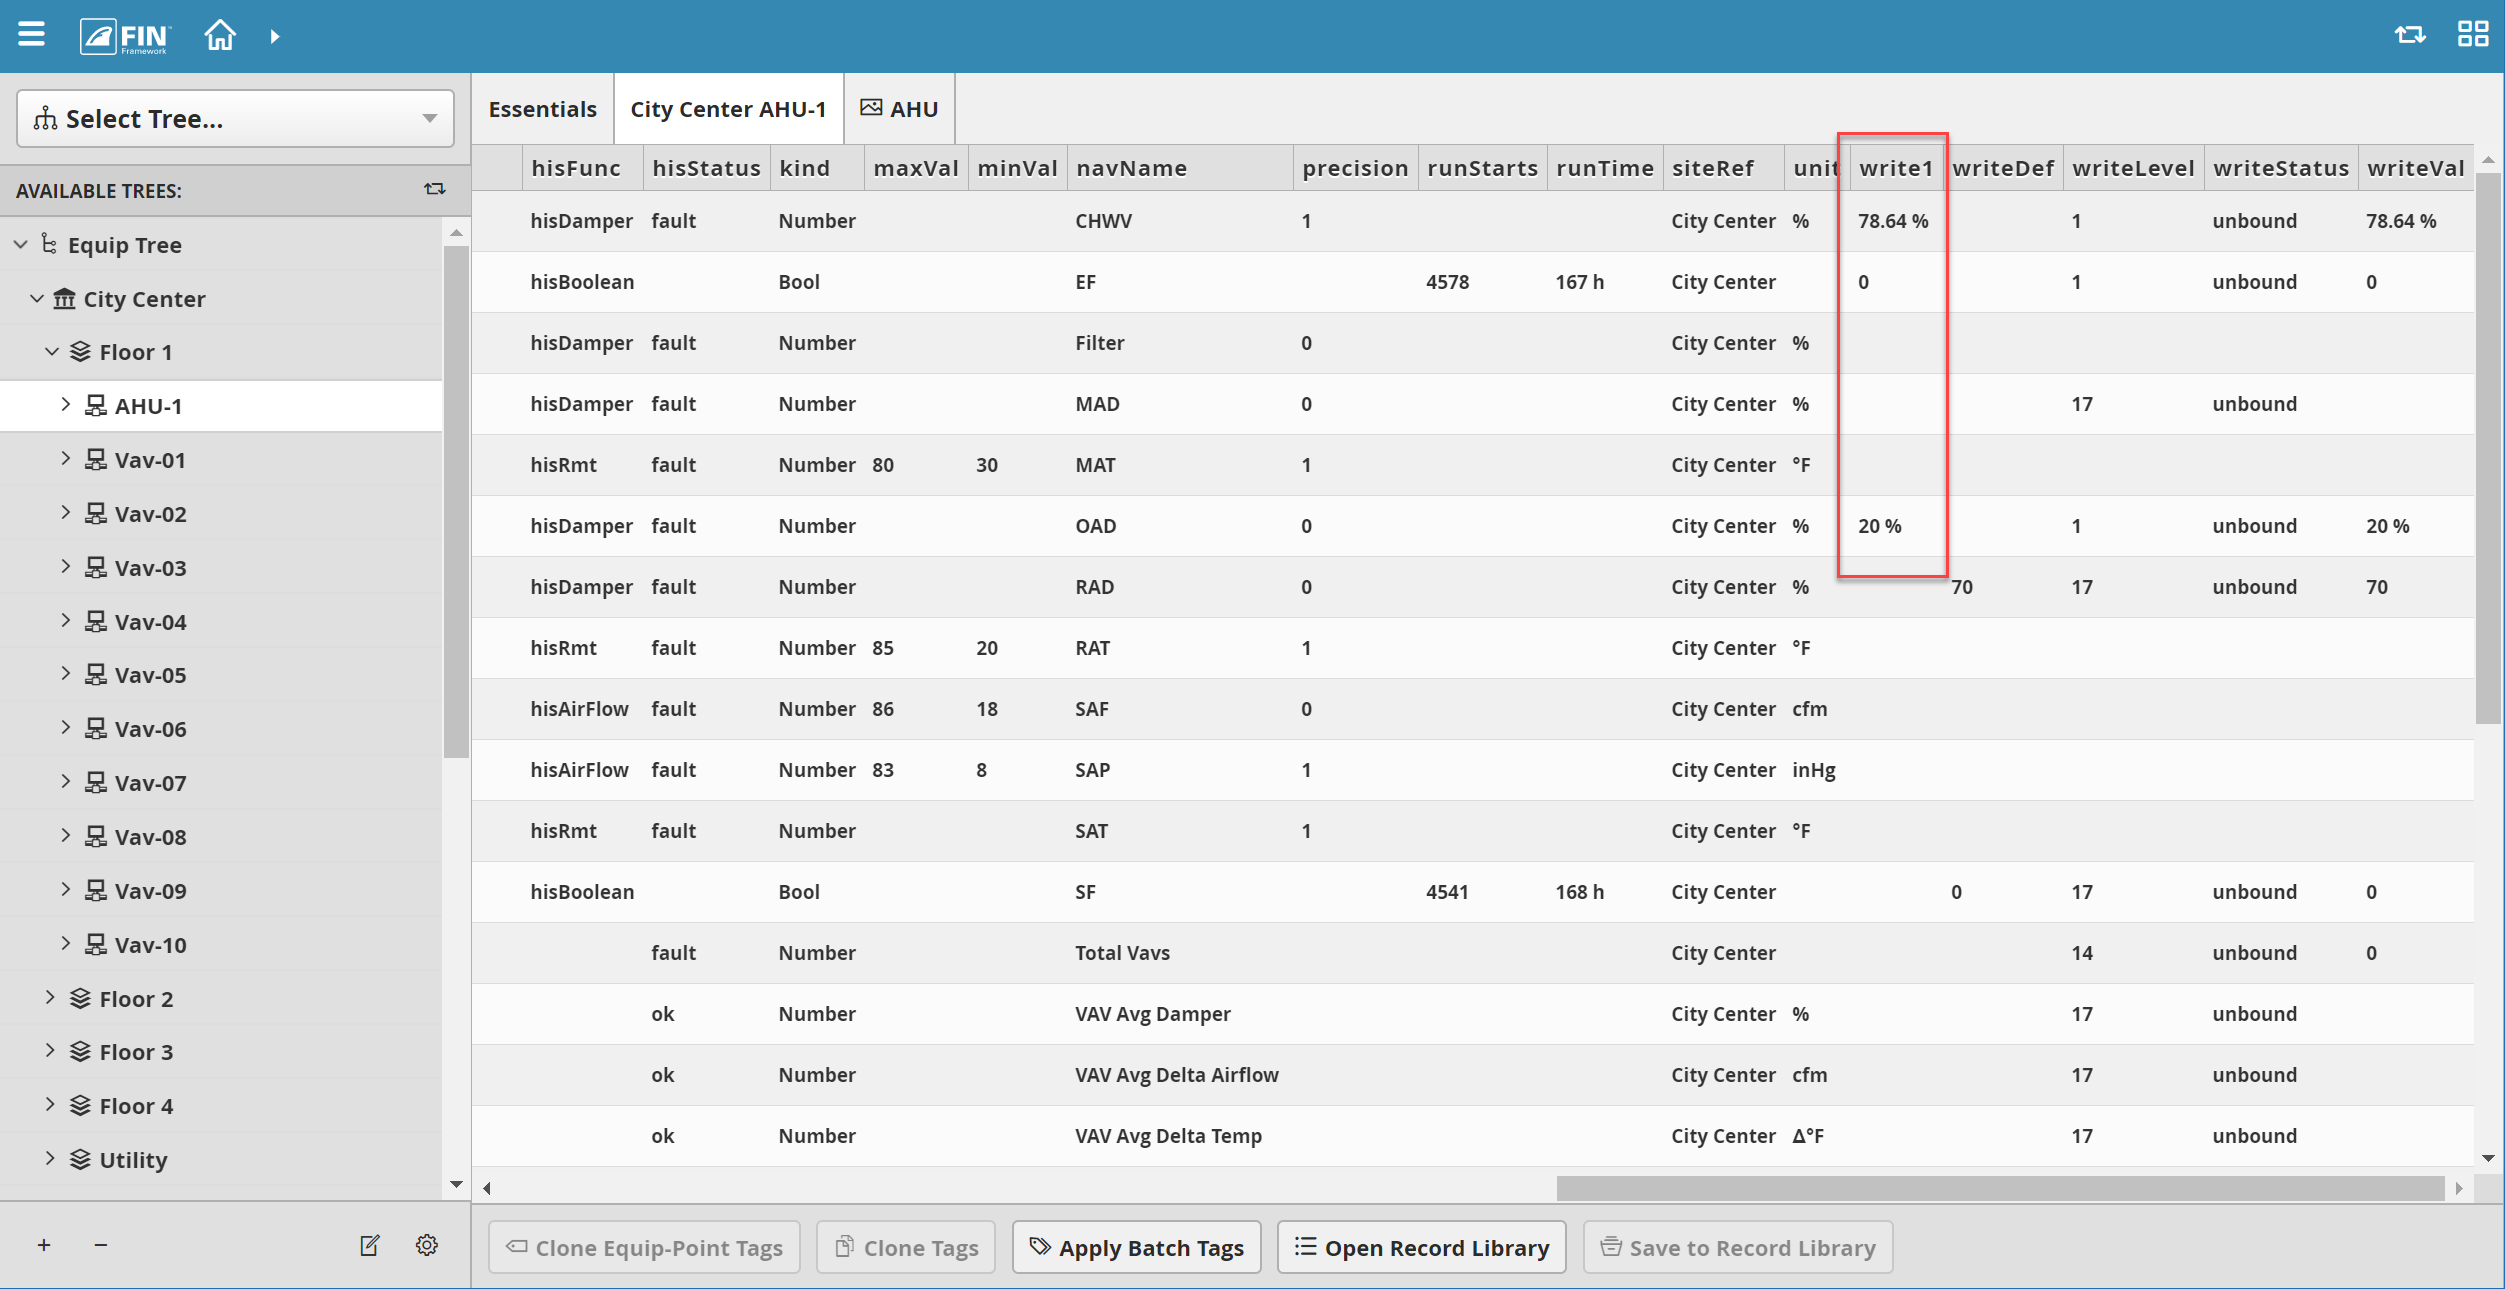
Another way to use this form is from DB Builder

The user selects the exact points he wants in the write1 column
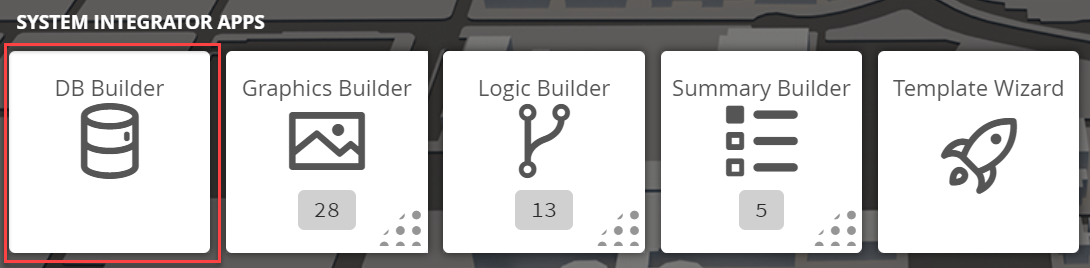
DB Builder
1. The user will have to select on the DB Builder application which is under the System Integrator section
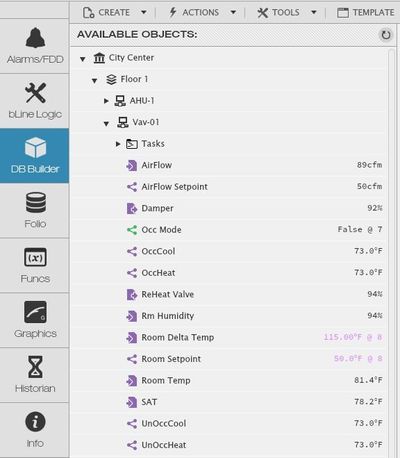
2. Once inside, the user has to navigate towards the DB Builder Tree
- The user will select the exact points they want to edit (the same rule
...
- applied here as well, the points must be of the same type and must have the same measurement unit
...
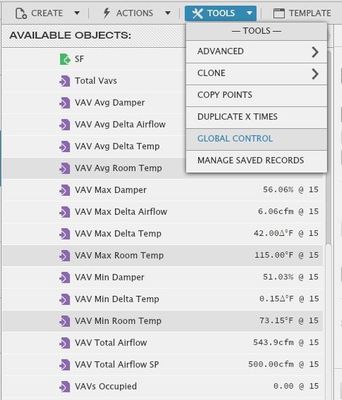
3. Once the user has made a selection, the user will have to use the Tool button ![]() which is located on the bottom right
which is located on the bottom right
4. The user will be prompted with a pop-up called Tools where the user will have to navigate to the following: Global Control
5. The flow from here on is the same as described above; the same window appears here as well
And in the end the confirmation pop-up. And the user can see on the spot if the points changed as mentioned
6. Once the user has made the changes, they can select on the Apply button to confirm the changes.
- This will close the pop-up window, confirming that the actions have taken place