| Table of Contents |
|---|
Description
This component will return the weather. To work it must be placed on a site and have the proper weather tags.
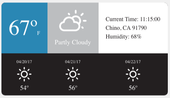
Completed Model (Basic)
Download: ractiveWeather.f5m
Ractive Code
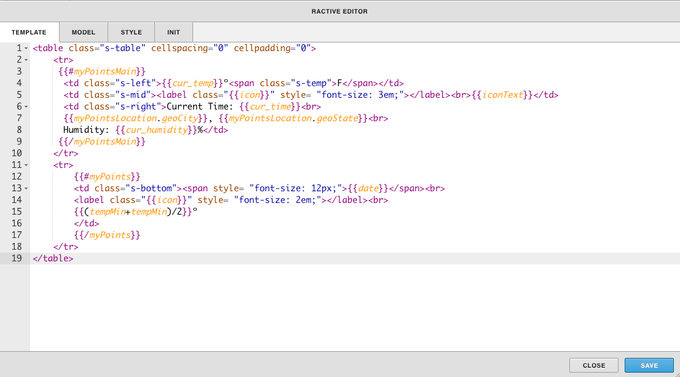
Template
| Code Block | ||
|---|---|---|
| ||
<div class="s-overviewBoxWeather">
    <div class="s-weatherRow">
        {{#myPointsMain}}
        <div class="s-topLeft">{{cur_temp}}º<span class="s-temp">F</span></div>
        <div class="s-topMiddle"><label class="{{icon}}" style= "font-size: 3em;"></label>{{iconText}}</div>
        <div class="s-topRight">Current Time: {{cur_time}}<br>
      {{myPointsLocation.geoCity}}, {{myPointsLocation.geoState}}<br>
      Humidity: {{cur_humidity}}%</div>
        {{/myPointsMain}}
    </div>
    <div class="s-weatherRow s-bottom">
        {{#myPoints}}
        <div class="s-bottomMiddle"><span style= "font-size: 12px;">{{date}}</span><br>
        <label class="{{icon}}" style= "font-size: 2em;"></label><br>
        {{(tempMin+tempMin)/2}}º</div>
        {{/myPoints}}
    </div>
</div>
|
This sets up the HTML for the table
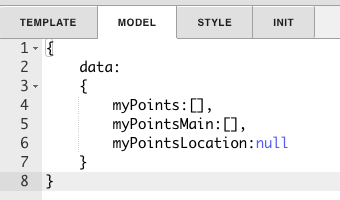
Model
| Code Block | ||
|---|---|---|
| ||
{
    data:
    {
        myPoints:[],
        myPointsMain:[],
        myPointsLocation:null
    }
} |
This sets up myPoints, myPointsMain, and myPointsLoaction to get the data from the query.
Style
| Code Block | ||
|---|---|---|
| ||
.s-overviewBoxWeather{
    width: 100%;
    height: 100%;
}
.s-weatherRow{
    display: flex;
    flex-direction: row;
    width: 100%;
    height: 50%;
}
.s-temp{
  font-size: 14px;
}
.s-topLeft{
    width: 33%;
    height: 100%;
    display: flex;
    flex-direction: row;
    justify-content: center;
    align-items: center;
    background-color: #3488b2;
    border-radius: 10px 0 0 0;
    color: #fff;
    padding: 20px;
  font-size:60px;
  font-family:SourceSansPro-Light, Source Sans Pro;
}
.s-bottom{
    background-color: #231f20;
    border-radius: 0 0 10px 10px;
    width: 99%;
}
.s-topMiddle{
    width: 33%;
    height: 100%;
    background-color: #bcbec0;
    display: flex;
    flex-direction: column;
    justify-content: center;
    align-items: center;
    color: #fff;
    padding: 20px;
  font-size:18px;
  font-family:SourceSansPro-Light, Source Sans Pro;
}
.s-topRight{
    width: 33%;
    height: 100%;
    background-color: #fff;
    border-radius: 0 10px 0 0;
    padding: 20px;
  font-size:16px;
  color:#231f20;
  font-family:SourceSansPro-Light, Source Sans Pro;
  text-align: left;
  line-height: 150%;
}
.s-bottomLeft{
    width: 33%;
    height: 100%;
    background-color: #231f20;
    border-radius: 0 0 0 10px;
    color: #fff;
}
.s-bottomMiddle{
    width: 33%;
    height: 100%;
    border-radius: 10px;
    background-color: #231f20;
    color: #fff;
    display: flex;
    flex-direction: column;
    justify-content: center;
    align-items: center;
}
.s-bottomRight{
    width: 33%;
    height: 100%;
    background-color: #231f20;
    border-radius: 0 0 10px 0;
    color: #fff;
} |
This is the css to style the table
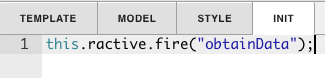
INIT
| Code Block | ||
|---|---|---|
| ||
this.ractive.fire("obtainData"); |
obtainData is what connects the Ractive model to the program.
Program
| Code Block | ||
|---|---|---|
| ||
var weather = this;
var myTarget = query('targetPoint');
finstack.eval('read(id=='+myTarget.pointId+').finWeatherData->forecast', function(data){
weather.myPoints=data.result.toObj();
});
var tableTop = this;
finstack.eval('read(id=='+myTarget.pointId+').finWeatherData', function(data){
tableTop.myPointsMain=data.result.toObj();
});
var myLocation = this;
finstack.eval('id=='+myTarget.pointId, function(data){
myLocation.myPointsLocation=data.result.toObj()[0];
}); |
This is where the program gets the data
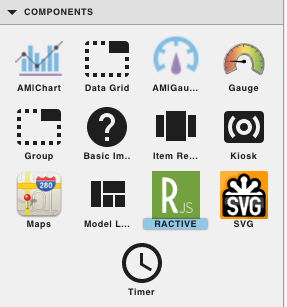
How To Make your Own
1. Bring Ractive out from components on the left side menu, and click on it to have the green outline
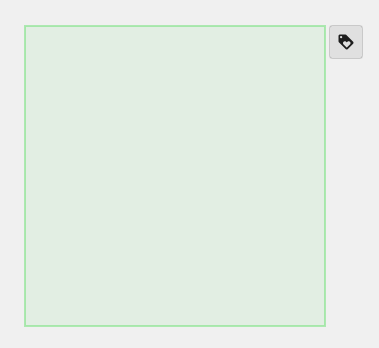
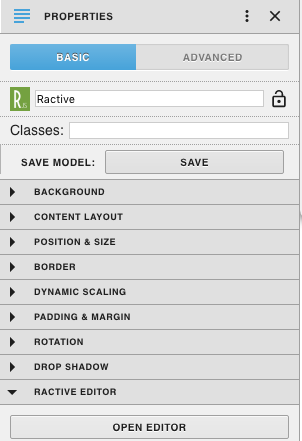
2. Under properties open the ractive editor, and copy and paste from the Ractive Code given above for template, model, style, and init
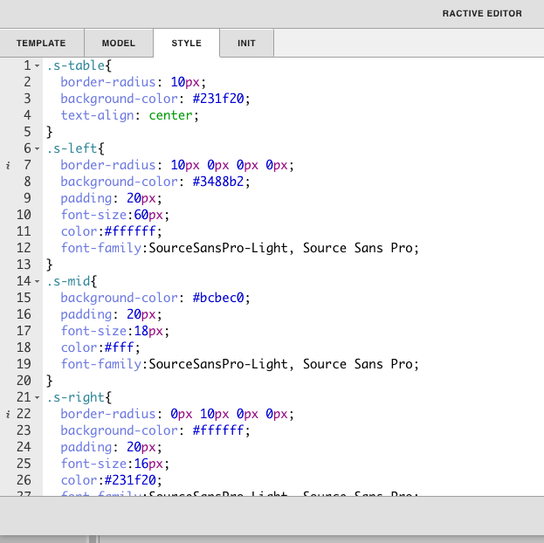
3. After copying and pasting, should look like the screenshots below
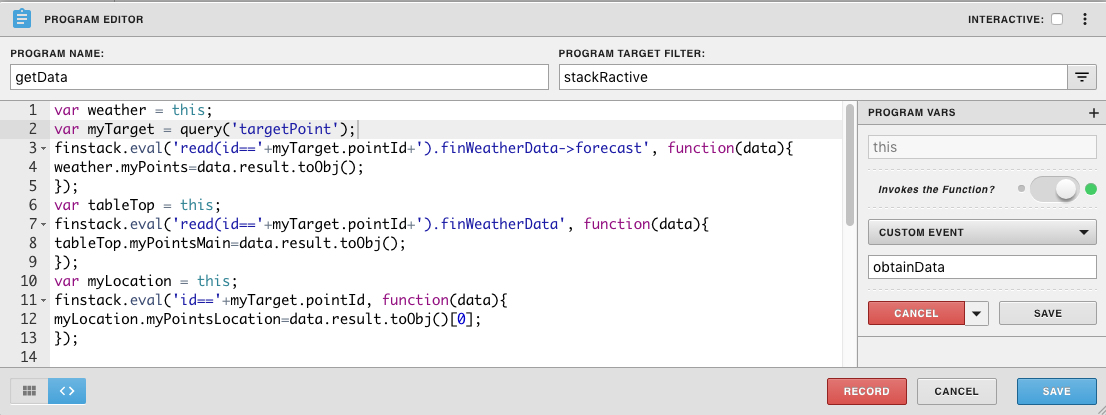
4. After saving go to programs and add a new program
Name your program, and set the program target filter to stackRactivestackractive
Top right of program editor, click the three dots, and select variables
Click the gear that appears as you hover over this
Turn Invokes the Function on and change the dropdown to Custom Event
Type in obtainData in the line below and save
Copy and paste the above code for program into the main part and save