...
...
...
...
...
...
...
...
...
...
...
...
| Table of Contents |
|---|
Top Level Graphic
We created a tool called Top Level Graphic that allows the user to create/edit a topLevelRecord which determines what graphic/context will automatically load upon logging in.
| Info |
|---|
User Home PathIf the individual user has their graphic homepath setup, it will automatically override the Top Level Graphic. |
...
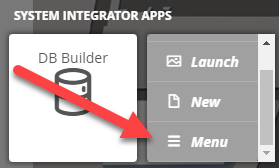
1. Select the Menu, which is located on the top left corner ![]()
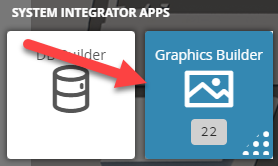
2. Select the Graphics Builder tile
3. When the user clicks on the Graphics Builder tile, it will slide out and give the user 3 options
In this case, the user will select on Menu
4. Once the Graphics Builder Mini App menu is opened, you will see a "Top Level Graphic" option
5. Open the Slider and select Create option
...
6. Once the Create option is selected, the following pop up will appear:
...
Select Graphic: Allows the user to select from a list of available graphics
Graphic Target: The graphic target will determine what context to load up for the graphic
7. Hit Apply to finish creating your Top-Level Record.
...
1. Select the Menu, which is located on the top left corner ![]()
2. Select the Graphics Builder tile
3. When the user clicks on the Graphics Builder tile, it will slide out and give the user 3 options
In this case, the user will select on Menu
4. Once the Graphics Builder Mini App menu is opened, you will see a "Top Level Graphic" option
...
6. Once Edit option is selected, a pop-up will be displayed
In this popup, the user will select the desired graphic they wish users to view once they log in
...
7. Once the user has selected the graphic they want to display as the top-level record, select on the Apply button to make the changes.
...
1. Select the Menu, which is located on the top left corner ![]()
2. Select the Folio tile underneath the Advanced Apps
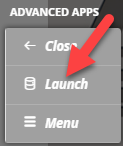
3. When the user clicks on the Graphics Builder tile, it will slide out and give the user 3 options
In this case, the user will select on Launch

4. Once the application opens, the user will query for "topLevel" record
If the record doesn't exist, it means it was never setup.
...
5. If the record doesn't exist, the user can edit the finHomePath manually or add the tag imageRef
This imageRef determines which image will appear above your navigation menu for topLevel.
For Example: imageRef takes the id of an image you have in the system (folio > files).
...
Hiding Right Menu with Top Level Graphic
If the user wants to hide the right mini app menu when the top level graphic is opened, they can do so by adding the “hideRightMenu” marker tag to the topLevel record. This will be done via the Folio app.
1. Select the Menu, which is located on the top left corner
2. Select the Folio tile underneath the Advanced Apps
3. When the user clicks on the Folio tile, it will slide out and give the user two options
In this case, the user will select on Launch
...
4. Once the application opens, the user will query for "topLevel" record. Then select it to edit it.
...
5. Then in the edit window, add the “hideRightMenu” marker tag and apply.
...
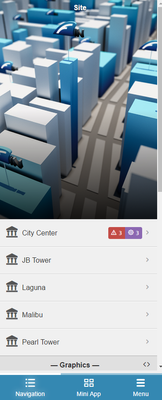
6. Thats it, now when the topLevel graphic is loaded, the right mini app menu will be collapsed.
...
Before without the tag.
...