| Table of Contents |
|---|


Description
This model compares the actual temperature of a room to what it is set at. It requires the the setpoint have maxVal set on the point.
Completed Model (Basic)
Download: RactiveTemperatureSetpoint.zip
Video
Example:
Ractive Code
Template
| Code Block | ||||
|---|---|---|---|---|
| ||||
<div class="view-container">
    <div align="center">
        {{#myTemp}}
        <label class="view-superman-label scolor">{{idDis}}</label><br>
        <label class="view-superman-label temp">  {{curVal.toFixed(2)}}{{unit}}  </label><br>
        {{/myTemp}}
    </div>
  <div class="fullBar">
    <div class="bar view-superman-label" style="width: {{myTemp.curVal/mySetPoint.maxVal*100}}%;"></div>
    <div class="arrow view-superman-label" style="left: {{mySetPoint.curVal/mySetPoint.maxVal*100}}%;"></div>
  </div>
<br>
  <div align="center">
  {{#mySetPoint}}
  <label class="view-superman-label scolor">{{idDis}}</label>
    <div class="tempB" align="center">
        <button class="circle view-superman-label icon-plus" on-click="increment"></button>
        <label class="view-superman-label temp">  {{curVal}}{{unit}}  </label>
        <button class="circle view-superman-label icon-minus" on-click="decrement"></button>
    </div>
  {{/mySetPoint}}
  </div>
</div> |
...
Model
| Code Block | ||||
|---|---|---|---|---|
| ||||
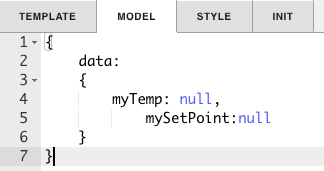
{
    data:
    {
        myTemp: null,
            mySetPoint:null
    }
} |
...
Style
| Code Block | ||||
|---|---|---|---|---|
| ||||
.circle{
  background-color: #c0c0c0;
  border: none;
  height: 40px;
  width: 40px;
  border-radius: 50%;
  cursor: pointer;
}
.temp{
    font-size: 40px;
}
.scolor{
    color: #47a3da;
}
.tempB{
    display: flex;
  justify-content: center;
  align-items: center;
}
.outer-wrapper{
  display: inline-block;
}

.bar{
  height: 20px;
  background: #47a3da;
  position:absolute;
}
.arrow{
    width: 2px;
    position: relative;
    background: #000;
    height: 20px;
}
.arrow:after {
    content: '';
    display: block;
    border: 5px transparent solid;
    border-bottom-color: #000;
    top: 17px;
    left: -4px;
    position: absolute;
}
.fullBar{
  height: 20px;
  background: #CFD8DC;
  margin: 0 auto;
  position: relative;
} |
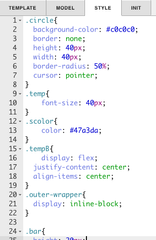
This is the css to style the component
INIT
| Code Block | ||||
|---|---|---|---|---|
| ||||
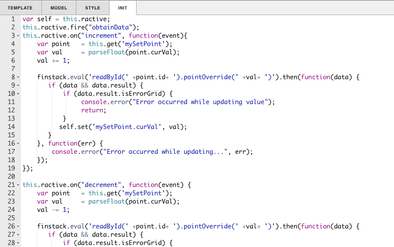
var self = this.ractive;
this.ractive.fire("obtainData");
this.ractive.on("increment", function(event){
    var point   = this.get('mySetPoint');
    var val     = parseFloat(point.curVal);
    val += 1;

    finstack.eval('readById(' +point.id+ ').pointOverride(' +val+ ')').then(function(data) {
       if (data && data.result) {
           if (data.result.isErrorGrid) {
                console.error("Error occurred while updating value");
                return;
           }
          self.set('mySetPoint.curVal', val);
       }
    }, function(err) {
        console.error("Error occurred while updating...", err);
    });
});

this.ractive.on("decrement", function(event) {
    var point   = this.get('mySetPoint');
    var val     = parseFloat(point.curVal);
    val -= 1;

    finstack.eval('readById(' +point.id+ ').pointOverride(' +val+ ')').then(function(data) {
       if (data && data.result) {
           if (data.result.isErrorGrid) {
                console.error("Error occurred while updating value");
                return;
           }
           self.set('mySetPoint.curVal', val);
       }
    }, function(err) {
        console.error("Error occurred while updating...", err);
    });
}); |
...
Program
| Code Block | ||||
|---|---|---|---|---|
| ||||
var roomTemp = this; finstack.eval('readAll`readAll((navName=="Room Temp") and floorRef->dis=="Floor 1"${targetPoint.floorRef} and siteRef->dis=="City Center"${targetPoint.siteRef} and equipRef->navName=="Vav-01")'${targetPoint.pointId})`, function(data){ roomTemp.myTemp=data.result.toObj()[0]; }); var roomSet = this; finstack.eval('readAll`readAll((navName=="Room Setpoint") and floorRef->dis=="Floor 1" ${targetPoint.floorRef} and siteRef->dis=="City Center"${targetPoint.siteRef} and equipRef->navName=="Vav-01")'${targetPoint.pointId})`, function(data){ roomSet.mySetPoint=data.result.toObj()[0]; }); |
This is your program. The
The first finstack.eval sets myTemp equal to the query readAll((navName=="Room Temp") and floorRef->dis=="Floor 1" and siteRef->dis=="City Center" and equipRef->navName=="Vav-01") query. This query can be changed to whatever the user chooses. The second finstack.eval sets mySetPoint equal to the query It dynamically adds the floorRef, siteRef, and equipRef based on the context. The user can change the point navName to whatever their point name is or use tags found on the point.
| Code Block |
|---|
readAll((navName=="Room |
...
Temp") and floorRef |
...
== |
...
${targetPoint.floorRef} and siteRef==${targetPoint.siteRef} and equipRef==${targetPoint.pointId}) |
The second finstack.eval sets mySetPoint equal to the query. This query can also be changed to whatever the user chooses. It is preferred however to have the same floorRef/siteRef/equipRef when comparing the room temp to room setpoint.
| Code Block |
|---|
readAll((navName=="Room Setpoint") and floorRef==${targetPoint.floorRef} and siteRef==${targetPoint.siteRef} and equipRef==${targetPoint.pointId}) |
How To Make your Own
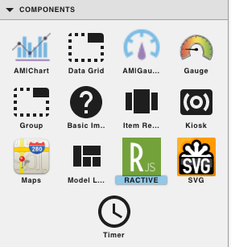
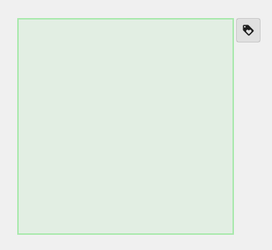
Bring Ractive out from components on the left side menu, and click on it to have the green outline


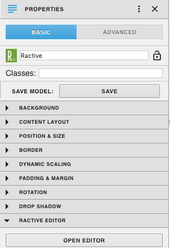
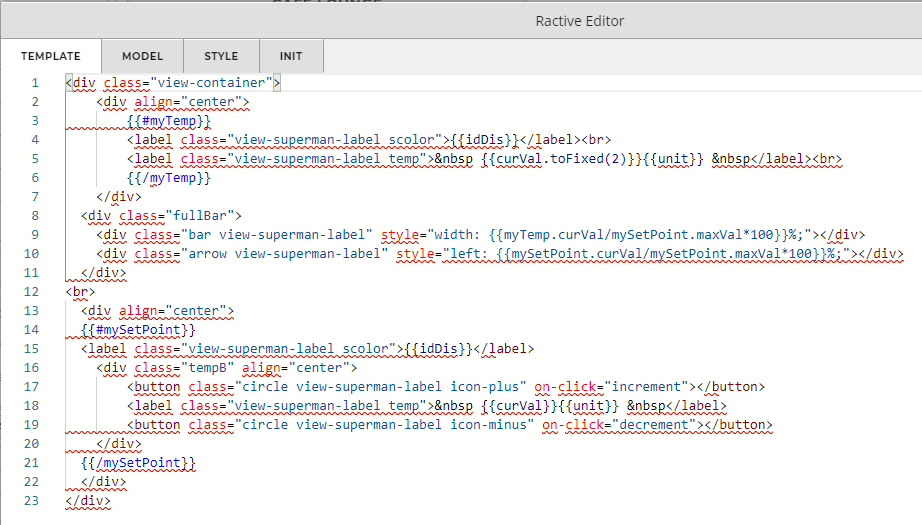
Under properties open the ractive editor, and copy and paste from the Ractive Code given above for template, model, style, and init
After copying and pasting, should look like the screenshots below


After saving go to programs and add a new program

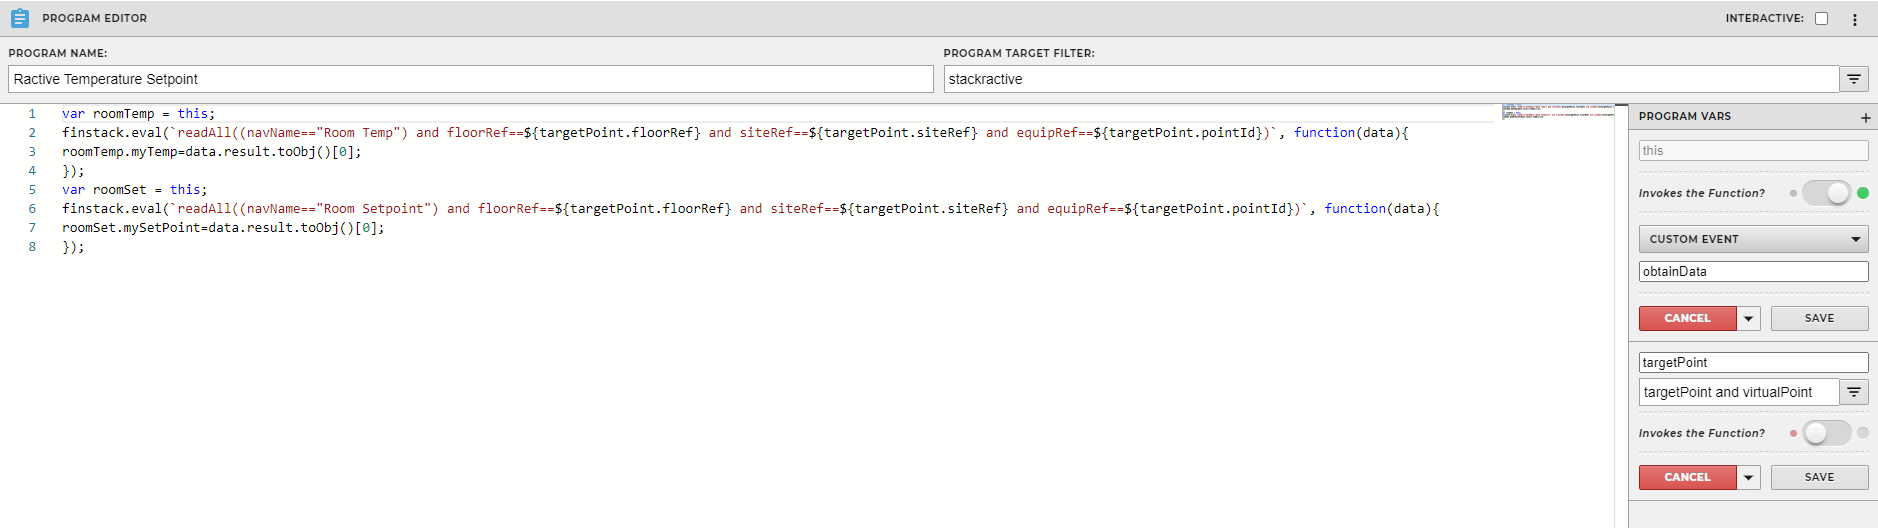
Name your program, and set the program target filter to
stackRactivestackractiveTop right of program editor, click the three dots, and select variables
Click the gear that appears as you hover over
thisvariable- turn
Turn Invokes the Function on and change the dropdown to Custom Event
Type in obtainData in the line below and save
Click on the + next to “Program Vars” to add another variable
Give it a name and set the filter of that variable to
targetPoint and virtualPointand save itCopy and paste the above code for program into the main part and save
Save and you're done!