Custom Header Security
- Christopher Simonian
- Kimberly Cruz (Unlicensed)
Overview
Custom Header security allows the integrator to set security tags & filters on individual users which will hide/show certain custom header buttons.
How to set up Custom Header Security
Setting up your custom header security is a two-part process.
- First security tags must be set on the Menu button
- Second, the user must be given a Custom Header Security filter to determine which buttons he can or cannot see.
Applying Security Tags to your Menu Buttons
Step one is to set security tags for each of your menu buttons that require security.
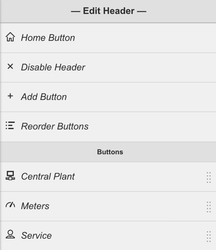
1. Open the Edit Header Menu
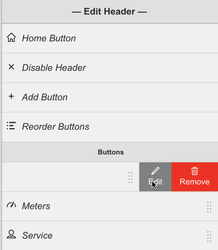
2. Select the Menu Button you want to edit and click on the "edit" option

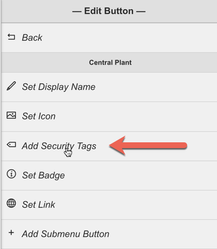
3. In the Edit Button section click on the "Add Security Tags" option
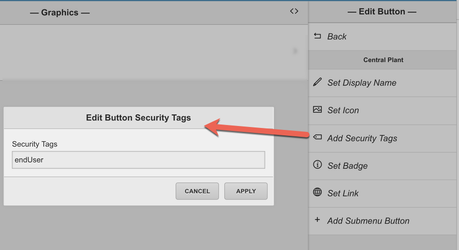
4. An "Edit Button Security Tags" form will appear. Type in your security tag (or tags).
NOTE: Security tags should be marker tags. make sure each marker tag starts with lowercase and contains no spaces. If you forget, that's okay, the program will automatically set it to be lowercase and remove all spaces.
NOTE: For multiple Security Tags use the "comma" to separate them. Example: endUser,systemIntegrator,googleTenant
5. Hit Apply to submit your security tag.
Applying a Header Access Filter to your User
Step two is assigning your users a header access filter which will determine which Menu Buttons they can see.
1. Open the User App, select the user you want to set a Custom Header security filter to
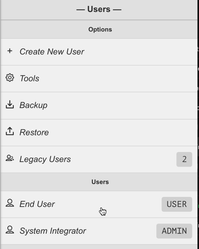
2. Open the "Edit User" slider, and select "Properties" to bring up the edit properties menu.
3. Scroll down and select the Header Access Filter.
4. Fill out the filter based on what security tags you applied to your Menu buttons. Whichever tag you put in here will be the Buttons that will show up in the header when they log in.
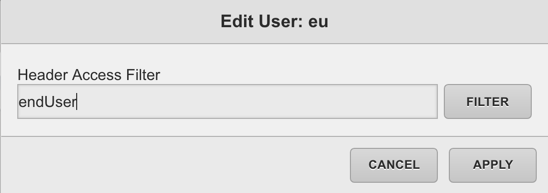
IMPORTANT: If the custom header button's Security tags do not match the user's Header Access Filter, that button will not show up.