Crypto
- Ricky Villa
- Kimberly Cruz (Unlicensed)
Location
1. To use the Crypto application, the user will need to have the Host Application open.
- When the user logins into FIN, they are directed to the Host Application which where they can select on the Crypto selection on the left-hand screen
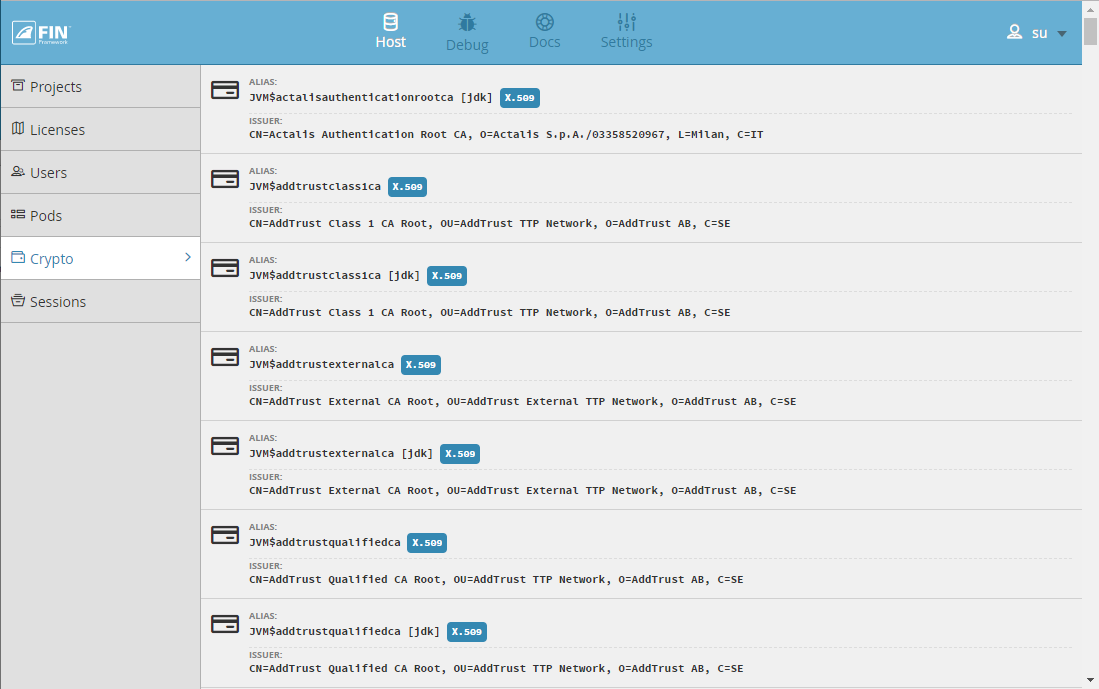
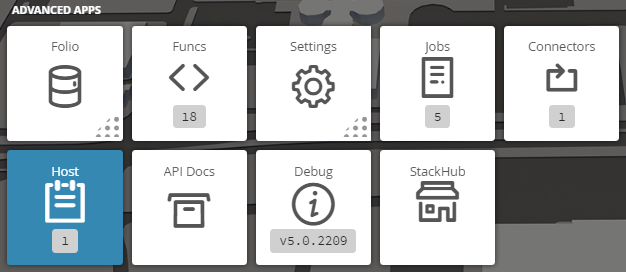
- Additionally, the user can open the Host Application under the Advanced Apps
Crypto
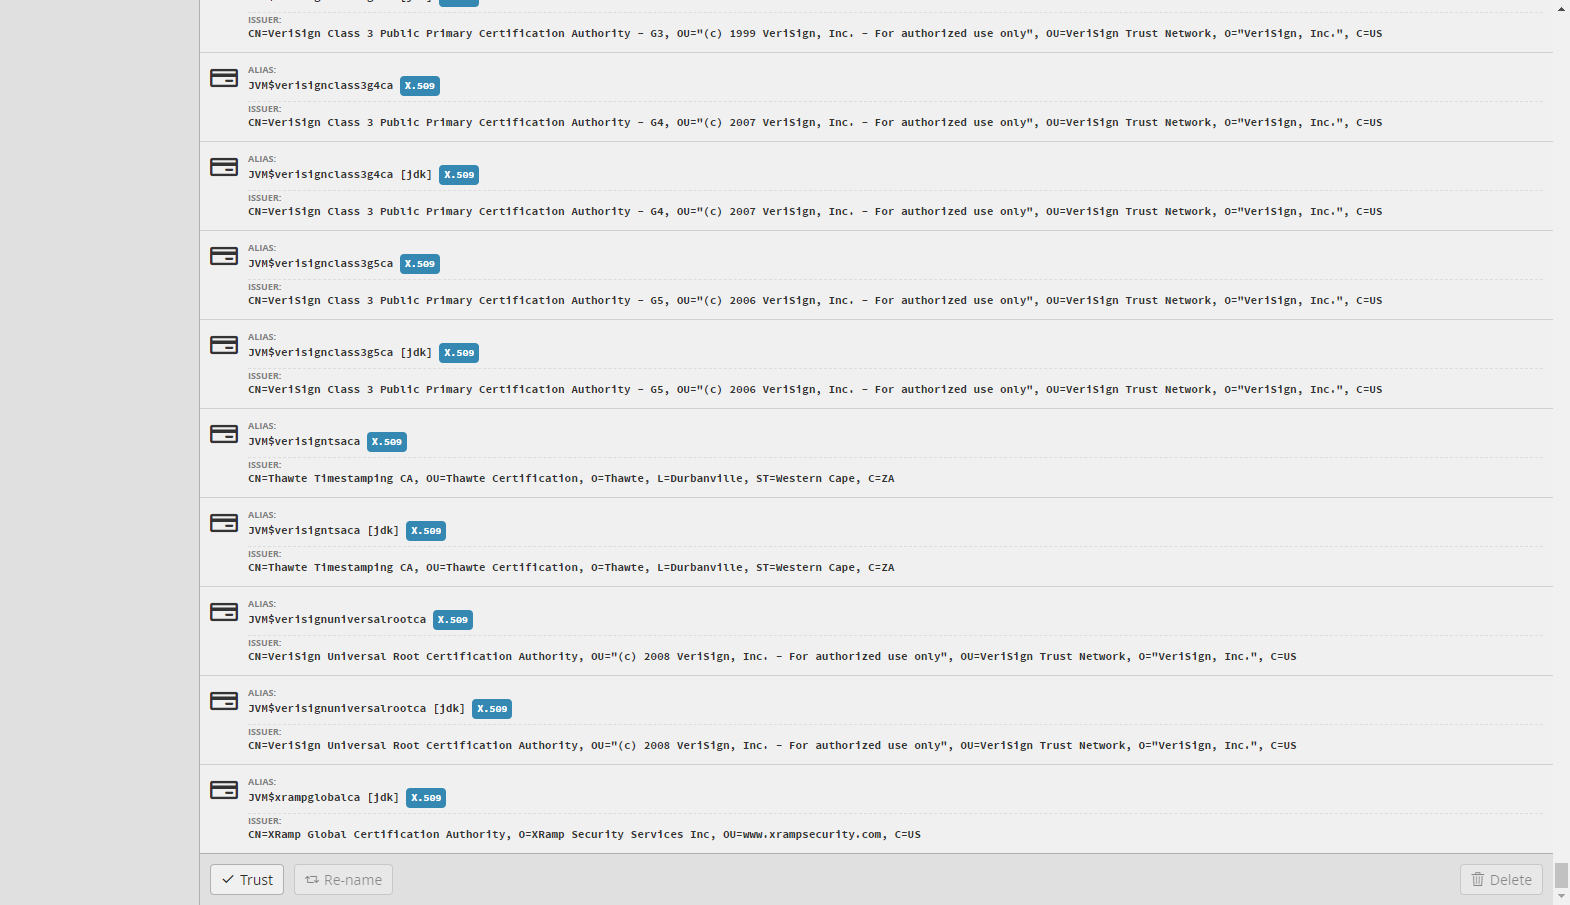
This is where the superuser can view all the trusted certificates and their information.
The tools available for the superuser are:
- Trust
- Re-name
- Delete
Trust
By selecting on Trust, the user will be able to add a new trusted certificate. It takes two fields:
- URI - The URI of the server to trust. The URI format scheme is https://host/
- Alias - The alias would be a name for this trusted certificate
Note: The user will need to scroll down the page till the end and will find the Trust button located there
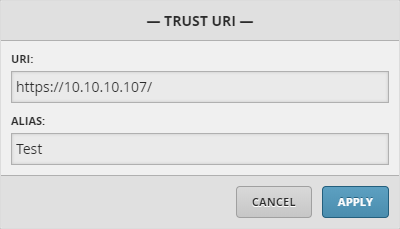
When the user has added the URI by selecting on the Apply button in the background the following happens:
- This Tool triggers an HTTPS handshake with the device to be trusted
- It also captures the X.509 certificate information needed to trust the device in the future
Re-name
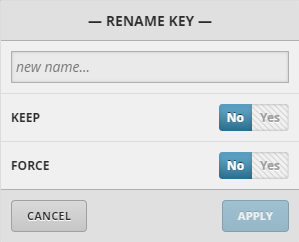
By selecting on Re-name, the user will be able to rename the certificate after selecting certificate and also decide whether to keep or force the certificate.
- New Name - Enter the new name for certificate
- Keep -
- Force -
Delete
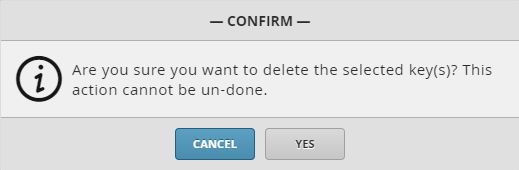
By selecting on Delete, the user will be able to delete the selected certificate after confirming the below prompt.
Manual funcs
If the user wants to do this process manually, they can do so with the below funcs depending on what they are doing.
These funcs need to be ran via the folio app:
- To trust a URI: cryptoTrustUri({uri: `https://10.10.10.107/`, alias: "Test"}.toGrid)
- To delete a URI: cryptoEntryDelete(@idOfUri)
- To view trusted URI’s: cryptoReadAllKeys()