Template Wizard
- Ricky Villa
- Aaron Sanchez
- Kimberly Cruz (Unlicensed)
Template Wizard
Here we'll show you how to use the Template Wizard app with the new improved workflow on using the templates.
Prerequisites: Custom Templates Pod and/or FST files.
Setting Up for Template Wizard
First the user will need to make sure the templateWizardExt is enabled under the Settings app > Ext.

They'll also want to make sure their custom template pod is enabled if using pod. In our case, we created one called "equipTemplates".

If using FST files, make sure to follow the process on how to add those to the project here FST files.
Once that that is done, the user can then refresh their browser and find the Template Wizard app available in the App Launch under System Integrator apps.
Using Template Wizard
Once the user clicks on the Template Wizard app, it will launch the below pop up where they can find the three different stages to complete.
The three different stages are:
- Create Connectors
- Create DB
- Complete
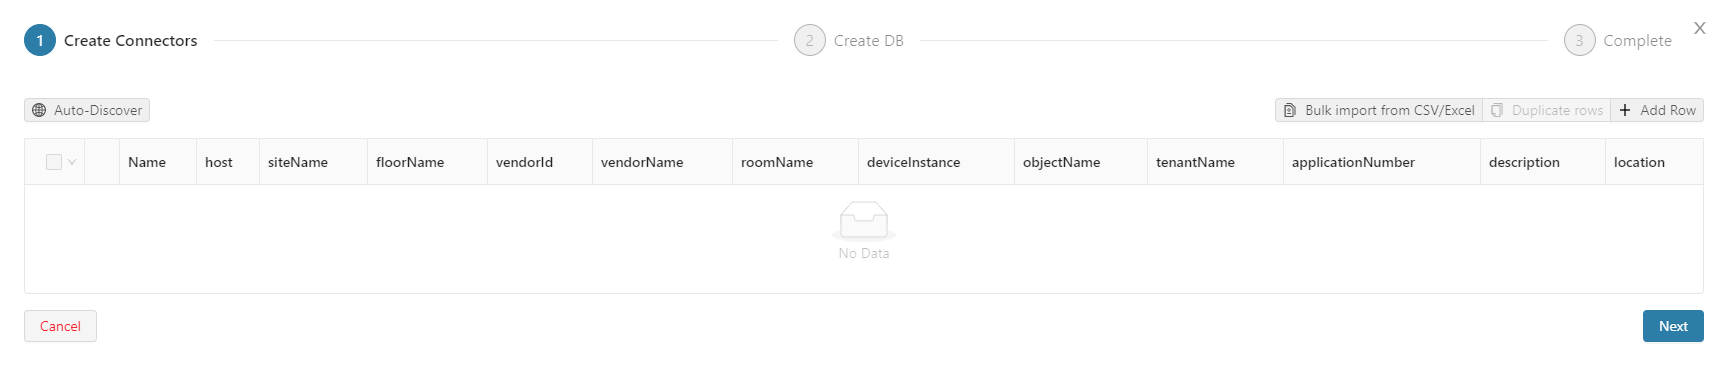
Stage 1: Create Connectors
This is where the user will add the devices to use for templates whether by discovering them, using CSV, and/or adding them manually. Once the user clicks Next, it will create them in the connectors panel.
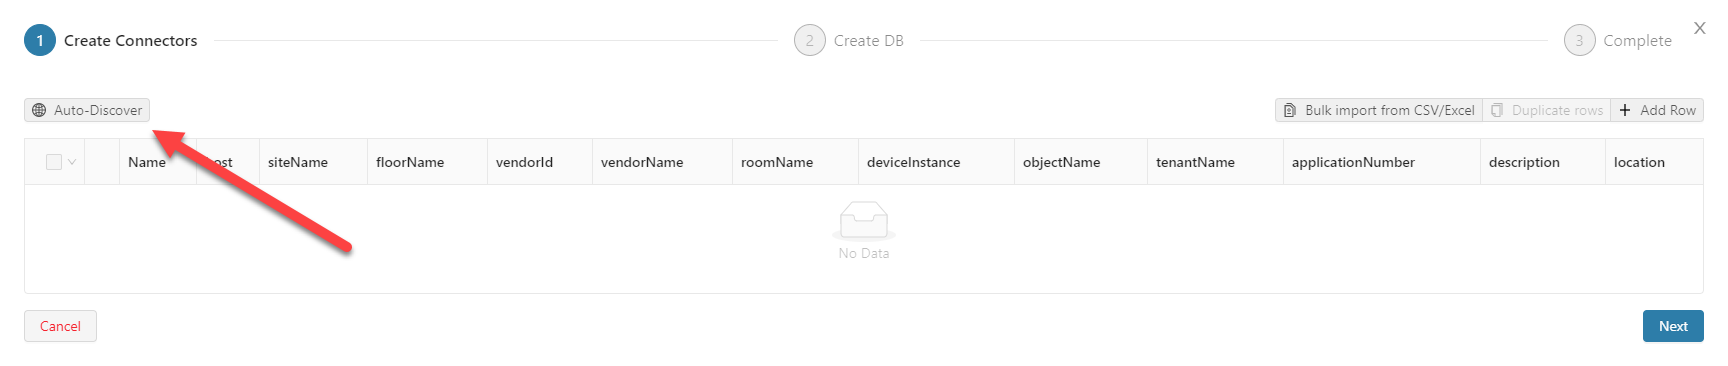
Auto-Discover
The Auto-Discover button will help the user to find the devices connected to the network.
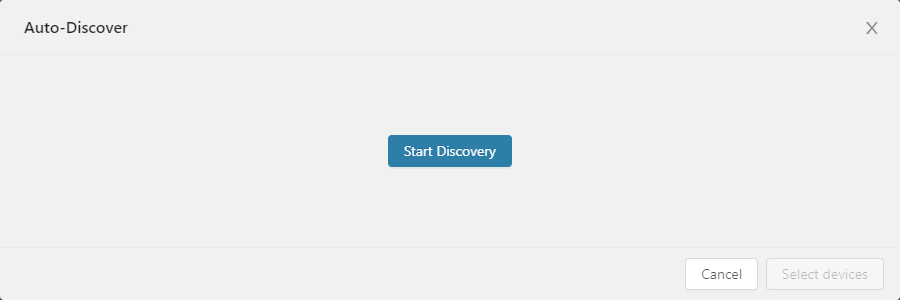
By selecting the Auto-Discovery Button, the user will be directed to a prompt where they will select on Start Discovery as shown below
If the user wants to make changes to the device discovery settings, they will need to do the following:
- Open DB Builder
- Navigate to the Connector Tree > BACnet >Discover
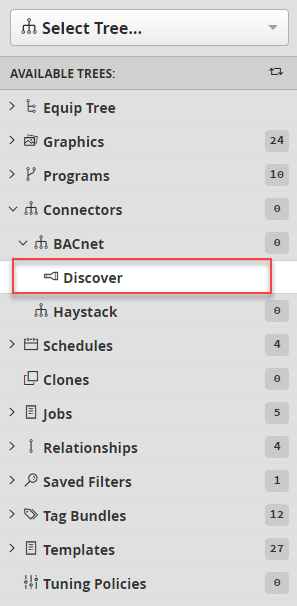
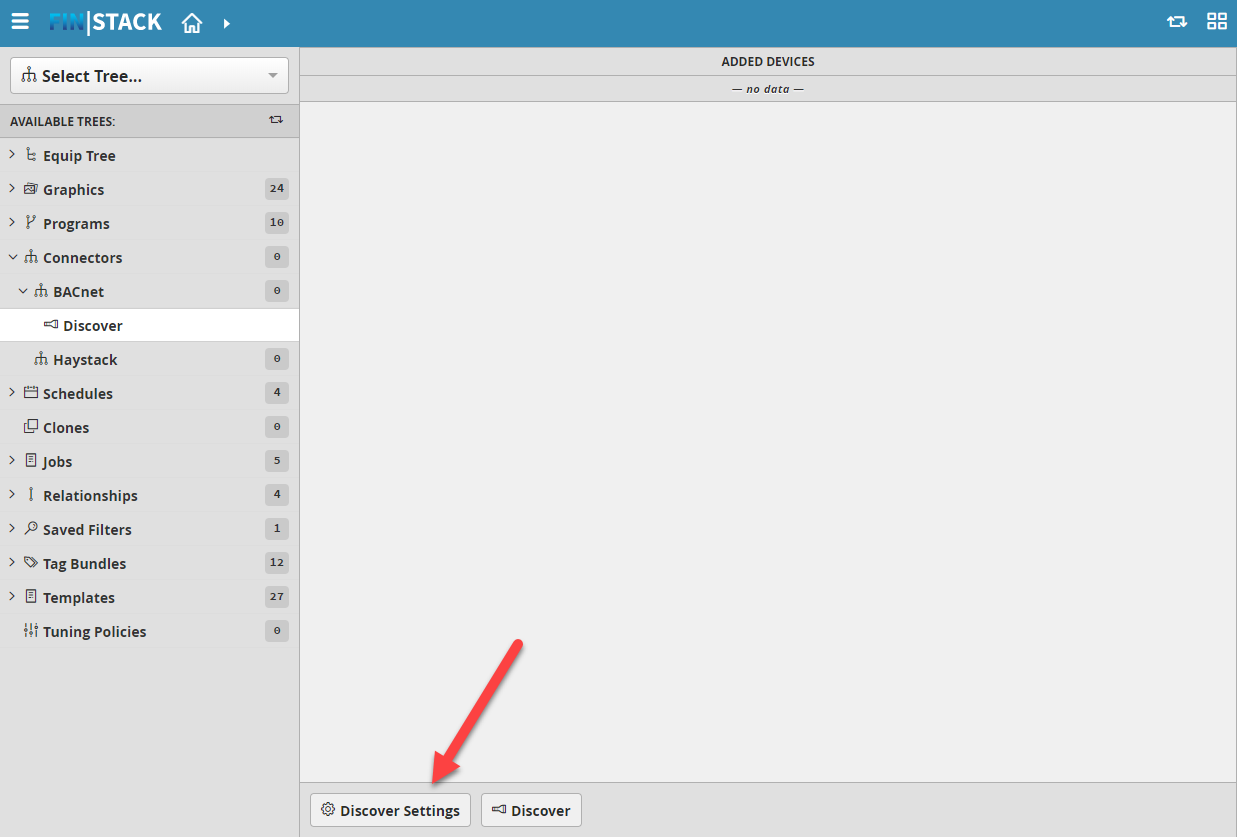
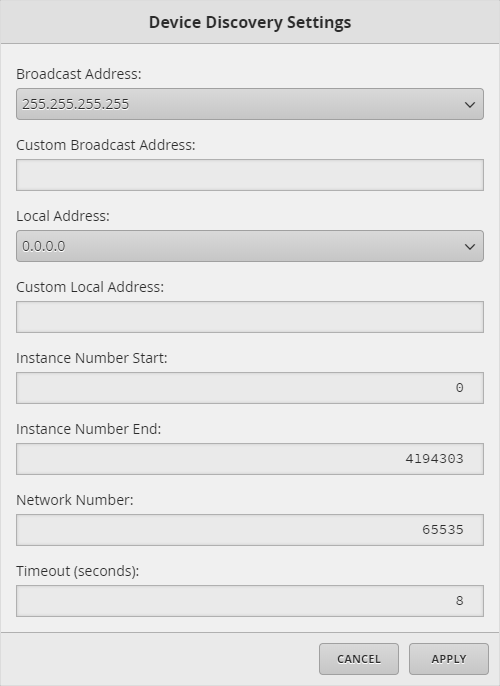
3. Select on the Discover Setting Button, then the user will be directed to a prompt where they will be able to change the settings for the device discovery.
Once selected the user will be shown a list of connectors, from there they can multi-select which connectors they want to add for the template.
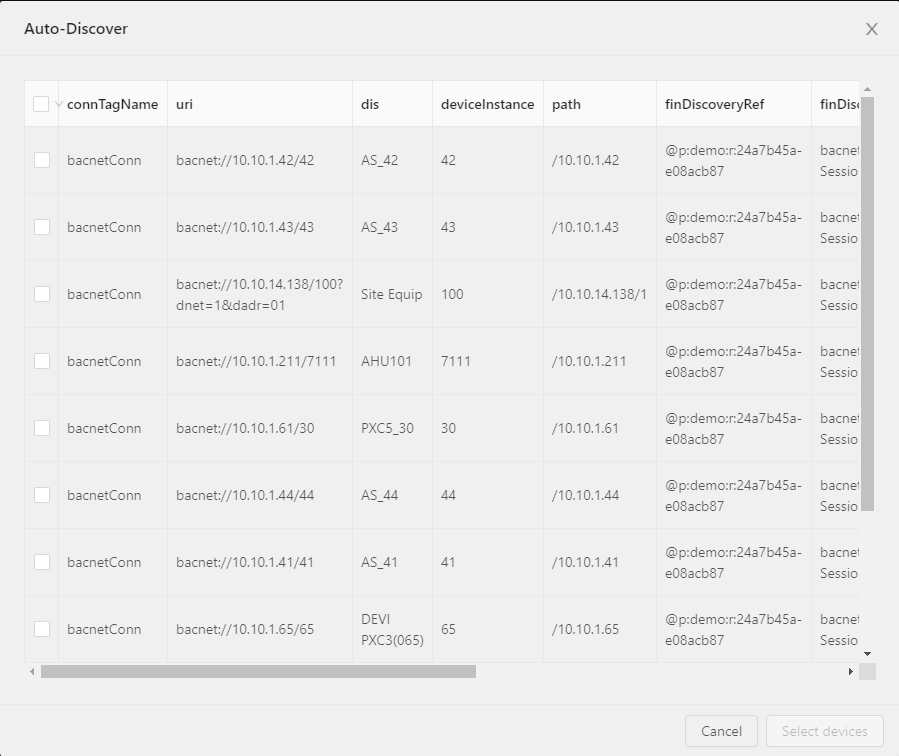
When the user has finished selecting their connectors, on the bottom right bottom Select Devices which will be highlighted in blue, will open a new prompt which will display the following:
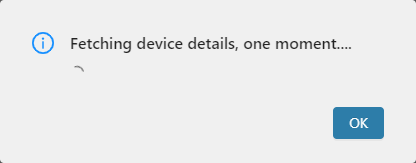
They can click ok or just let it close itself once it is done.
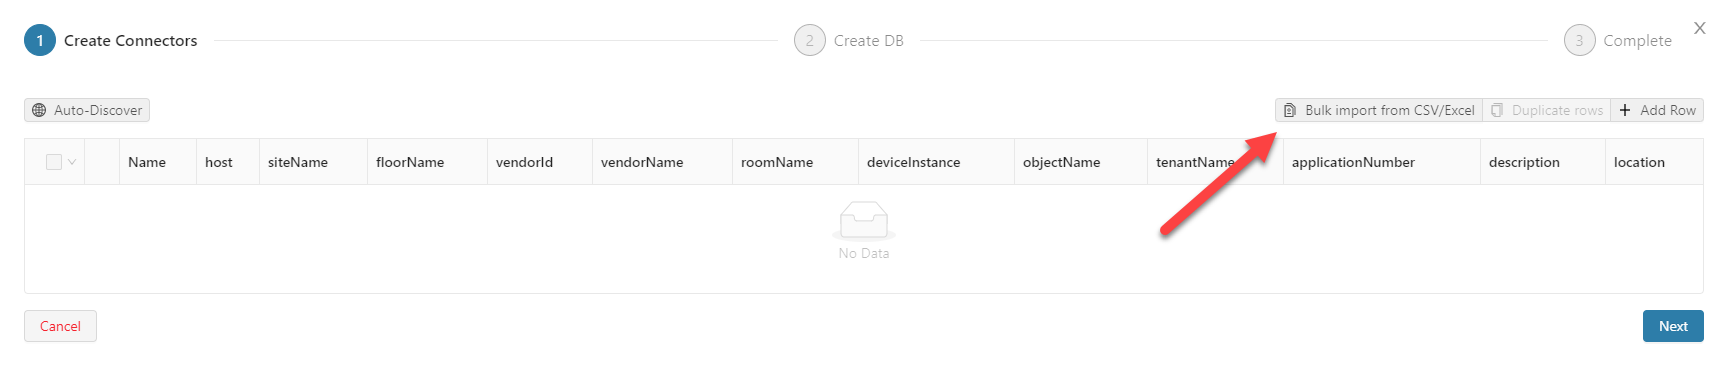
Bulk import from CSV/Excel
The user is able to import from an Excel/CSV/Google sheet and edit as needed. If the user has IP>Mstp devices under a router, they can add additional columns that are networkNumber and macAddress if needed. The user can also add additional custom columns they would like to add, but below are the common and frequently used. Here is an example of an IP and IP>Mstp: connectorTemplate.xlsx
Note: The required fields are marked with a * below
- *dis/Name: this field will be used for the name of the equip which will be created
- example = VAV-01
- note: Changing one of the field changes the other.
- *host: this field defines the IP address the bacnet device will be utilizing. Include port if its other than the standard port of 47808
- example = 192.168.1.100 or 192.168.1.100:47810
- *siteName: this will define the name of the site which the equip will reference as 'siteRef'.
- example = Building HQ
- note: If the a site already exists with what is entered here, it will reference the existing site. If the name entered does not match an existing site, it will create the new site (siteName is case-sensitive). If no siteName is specified, it would create a "Mock Site".
- *floorName: this will define the name of the floor which the equip will reference as 'floorRef'.
- example = Floor 1
- note: If the floor already exists with what is entered here and under the same site, it will reference the existing floor. If the name entered does not match an existing floor under same site, it will create a new floor (floorName is case-sensitive). If no floorName is specified, it would create a "Mock Floor".
- vendorId: this field defines the vendor id, which is the numerical identifier of the device. List of Vendors
- example = 7 (Siemens)
- vendorName: this field defines the vendor name, which is the name of the manufacturer. List of Vendors
- example = Siemens Building Technologies
- roomName: this defines what the room number is from which this device serves. It has to be a number to follow the format of the location property of the device.
- example = 556
- *deviceInstance: this is the instance of the device
- example = 7001
- folderName: this will define the name of the folder in which the connector (objectName) will be organized under.
- example = VAVs
- note: If a folder already exists under the connectors, it will reference the existing folder. If the name entered does not match an existing folder, it will create a new folder (folderName is case-sensitive). If no folderName is specified, it won't create a folder.
- *objectName: this will define the name of the connector which will be created
- example = VAV-01
- tenantName: this will define the tenant name of which the area serves.
- example = J2
- ahuName: this will define the name of the ahu which the vav equip will reference as 'ahuRef'. The name has to start with AHU to follow the format of the description property of the device.
- example = AHU 1
- note: If an ahu already exists with what is entered here and under same site and floor, it will reference the existing ahu. If the name entered does not match an existing ahu under same site and floor, it will create a new ahu (ahuName is case-sensitive). If no ahuName is specified, it won't create an ahu and not add the ahuRef to the vav equips.
- applicationNumber: this field defines the device application number. This number determines what type of devices it is
- example = 14020
- description: the siteName, floorName, and ahuName are part of the format of the description property of the device. The format is siteName.floorName.ahuName and keep in mind that the AHU name will only work if it starts with AHU.
- example = Building HQ.Floor 1.AHU 1
- note: this does not need to be touched since it will auto be generated when and if siteName, floorName, and ahuName are filled in.
- location: the roomName and tenantName are part of the format of the location property of the device. The format is roomNumber.tenantName and keep in mind that the roomName has to be a number.
- example = 556.J2
- note: this does not need to be touched since it will auto be generated when and if roomName and tenantName are filled in.
- *networkNumber: this field defines the network number of the bacnet device
- example = 200
- *macAddress: this field defines the mac address of the bacnet device
- example = 2
- hopCount: this field defines the hop count and this is optional. Not needed, will default to 255 if not defined.
- example = 255

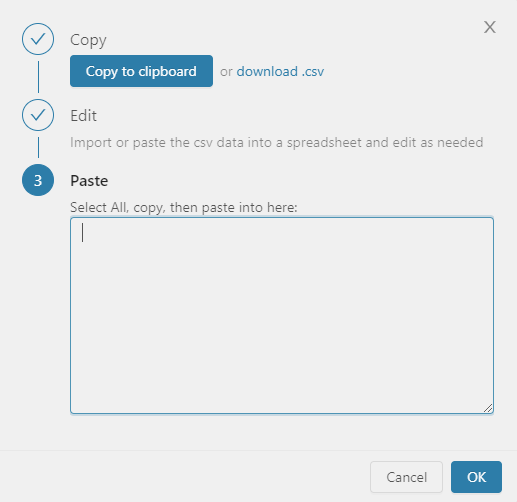
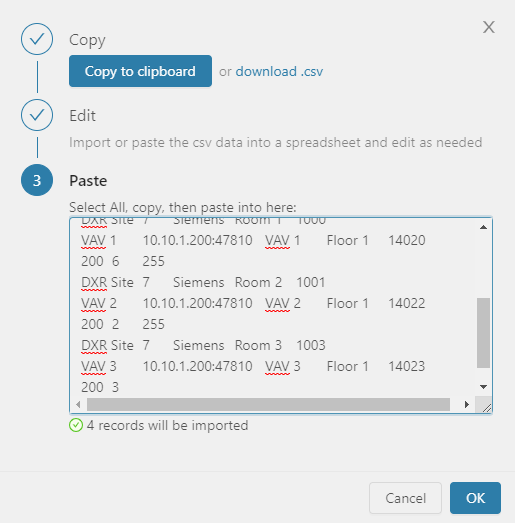
Once done, the user can paste the information in the Paste text-box and select the Ok button which will automatically fill in the table.
Duplicate Rows
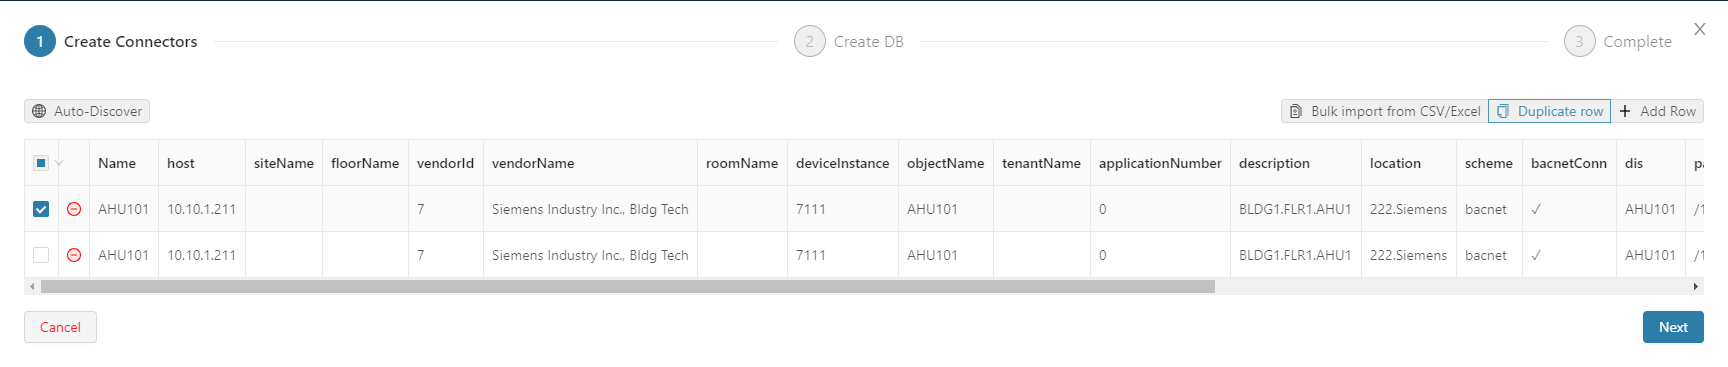
The user can duplicate connectors by:
- Checking off which connector they want to duplicate
- Then by selecting on Duplicate Row, the user is able to make a duplicate of the connector
- The duplicate would be added to the end of the list
Add Row
The user can select the button Add Row and it will let them fill in a row to their preference as shown below.

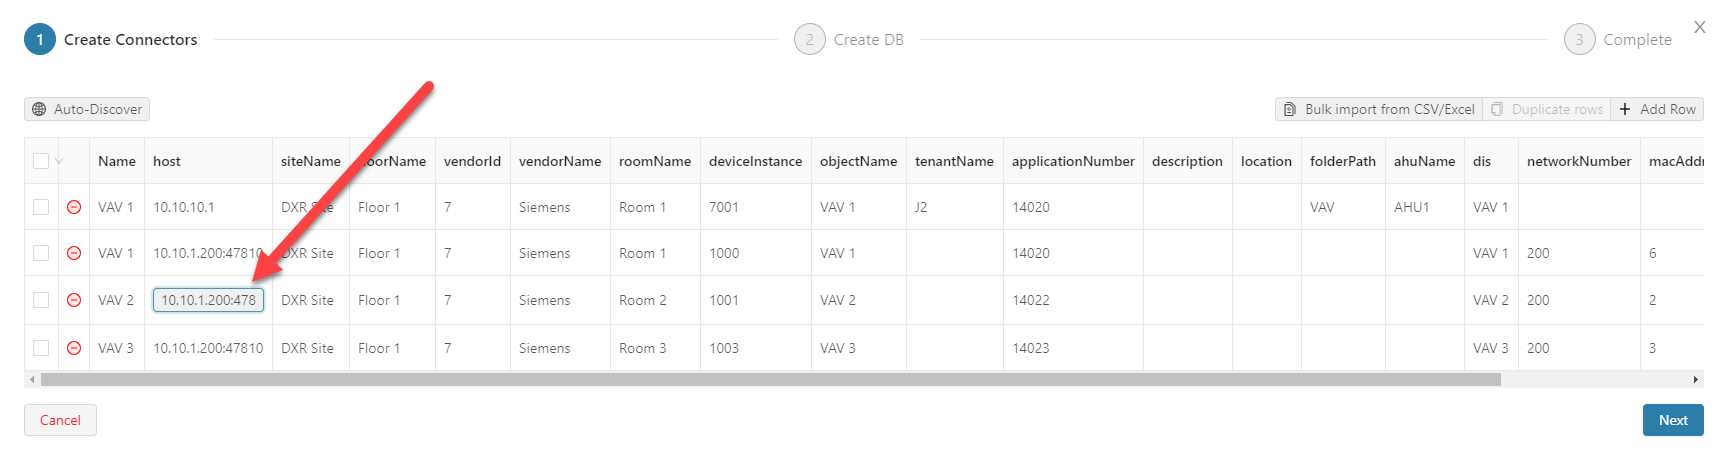
Edit Row
The user is able to edit the information of any cell by double clicking the cell they want to edit. It would look like the following:
Note: Editing in the template wizard is not the best. After discovering devices, we recommend to go to "Bulk import from CSV/Excel" and select "Copy to clipboard". That would copy whats currently in the wizard grid and paste in excel where the user can quickly and easily make edits.
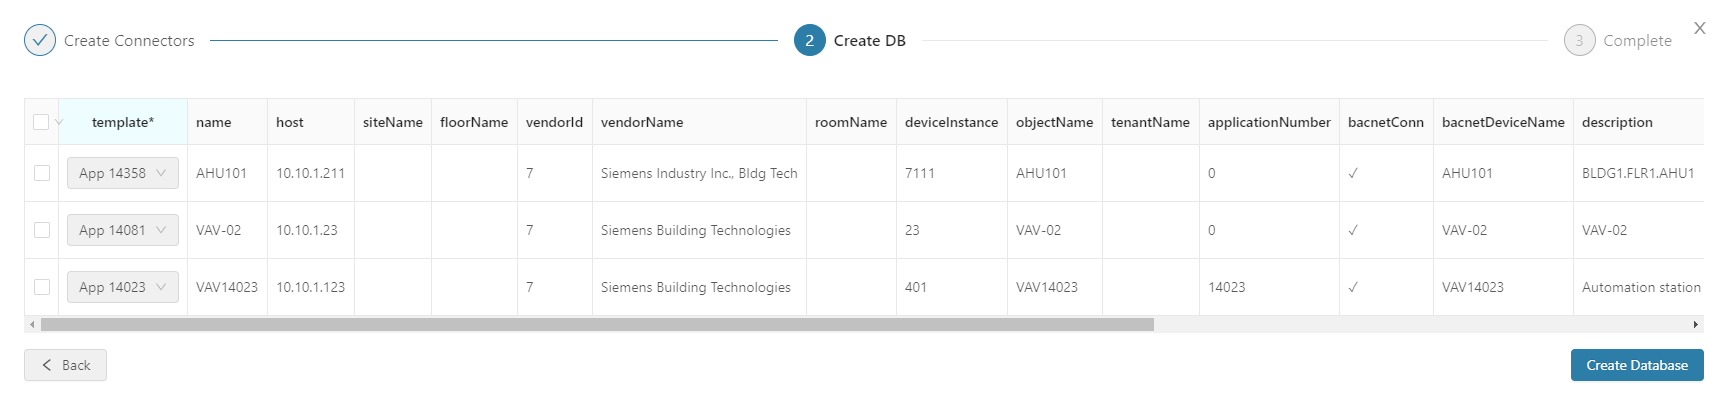
Stage 2: Create DB
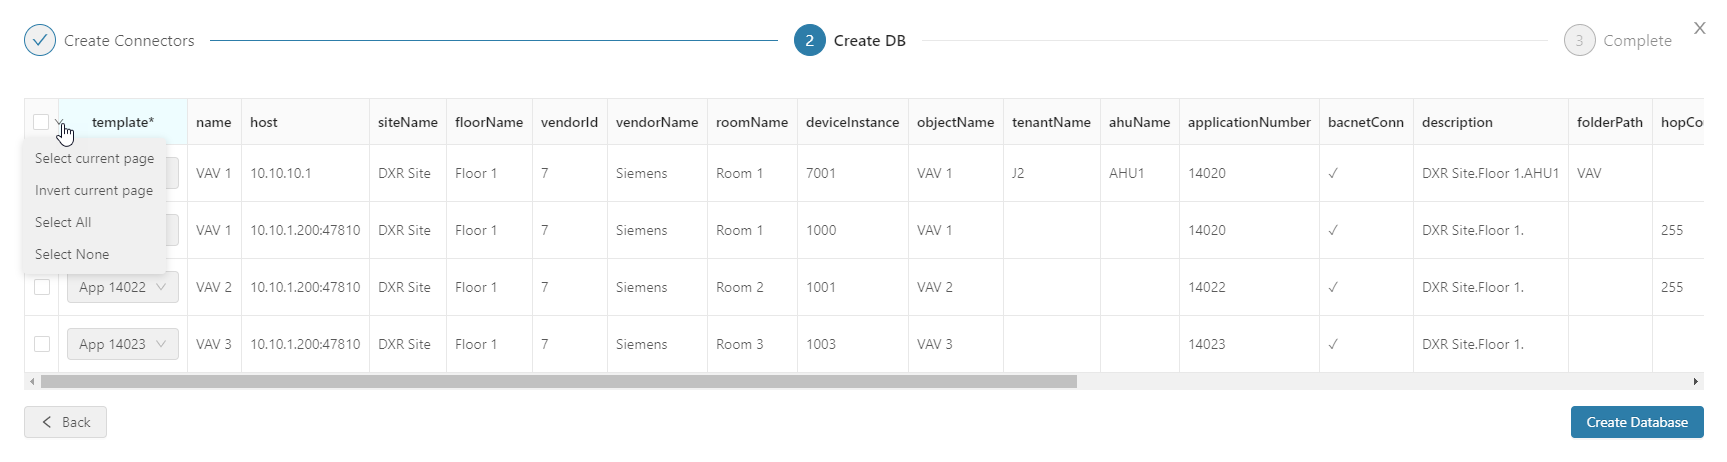
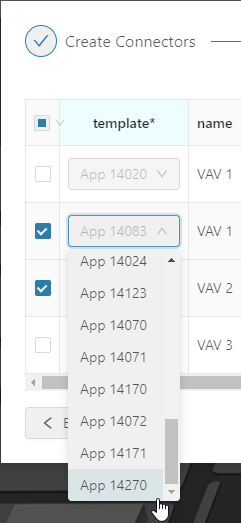
This is where the user will specify the template to use per device so that its paired correctly before creating the DB. Once the user clicks Create Database, it will create the database records depending on what was configured.
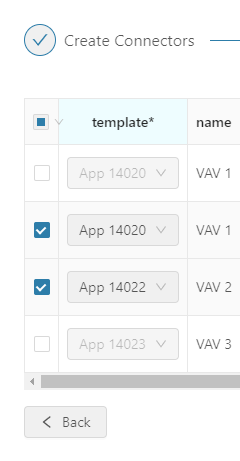
Multi-Select
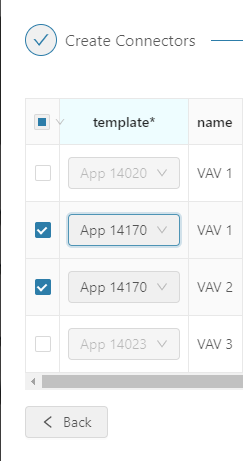
The user is able to multi-select connectors and this will allow them to change them to the same template type.
They also have an option to by hovering over the down arrow, as shown below, to be able to:
- Select Current Page
- Invert Current Page
- Select All
- Select None
For Example: If the user wants two connectors to have the same template type, they would have to check off the two connectors then select which template should they be assigned to.
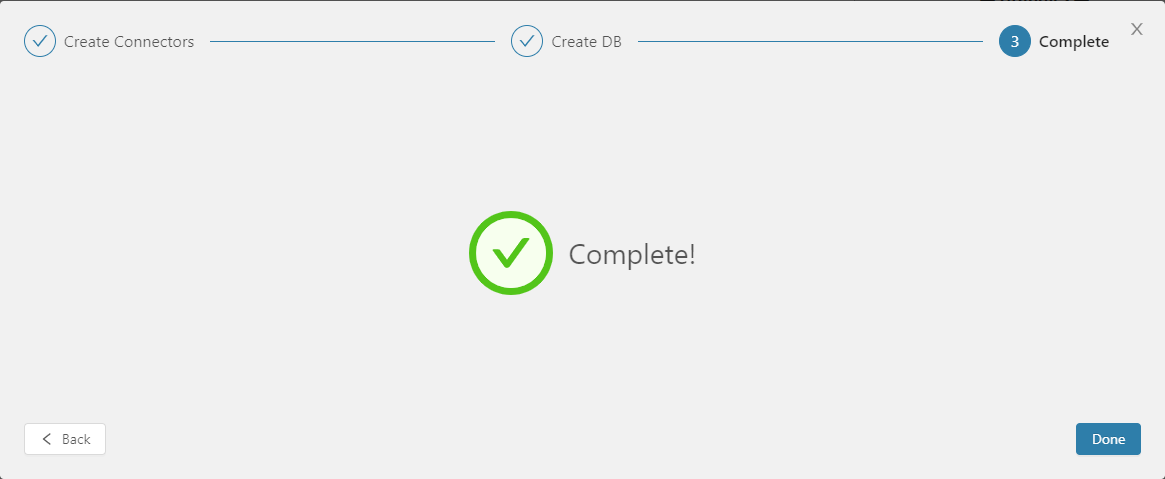
Stage 3: Complete
The process is done and the user can then check DB Builder to see the database for the new records just added. It will have also added the graphics, programs/alarms, summaries, and manuals if included in the templates when the fst was saved.