Property Editor
- Ricky Villa
- Kimberly Cruz (Unlicensed)
Property Editor
The Property Editor is an advanced editor that allows the user to see all the available tags on selected record or common tags if multiple records selected under Equip Tree. It also allows the user to add or modify applicable tags.
Finding Property Editor
To find the Property Editor, the user will first have to click on the 'i' icon of a record under the Essentials column from the grid view or on the Essentials tab > section found on any record selected under the Equip Tree. Basically anywhere you see that 'i' icon, it would open up the property editor window.
Grid View

Essentials Tab

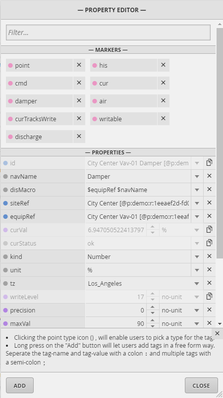
Property Editor Sections
Below is a brief description for each section and properties of the Property Editor.
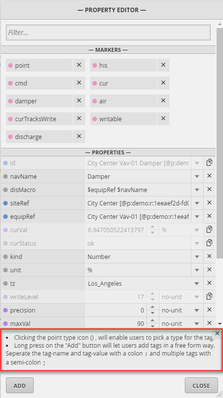
Filter
The filter is used to filter for certain tags found in the property editor. It makes it quick to find out if a tag exists on that record or not. Takes a single tag.

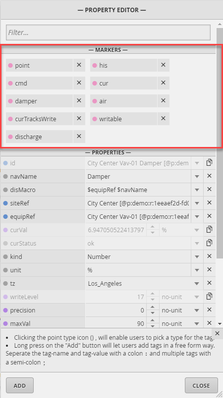
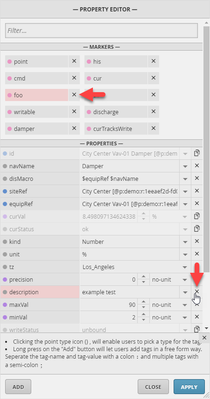
Markers
The Markers section is where the marker tags on the record would appear.
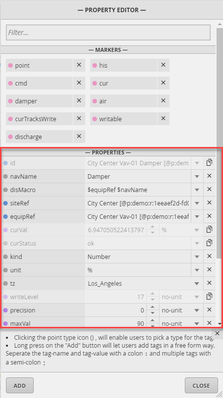
Properties
This Properties section is where the property tags on the record would appear.
Tips
The Tips section has a couple tips on what else can be done in the Property Editor.
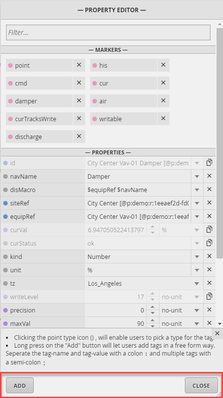
Bottom Bar
The bottom bar would display a few buttons such as Add, Done, Close, and Apply.
How to use the Property Editor
Below is how to add, remove, modify, copy, etc in the Property Editor.
Adding tags
To add tags, the user can click on the "Add" button bottom right corner of the window.

Then an empty slot would appear towards the bottom of the window. The user can select add multiple times and it'll continue to create additional empty slots to add tags.
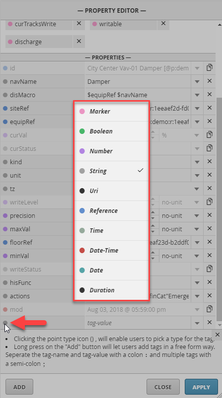
From here, the user has the ability to change the tag type by selecting the circle icon on the left side. That would bring up a pop up with different available tag types.
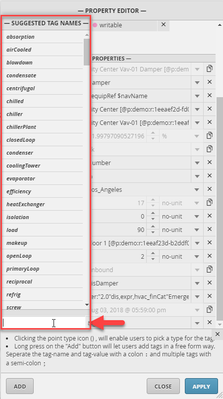
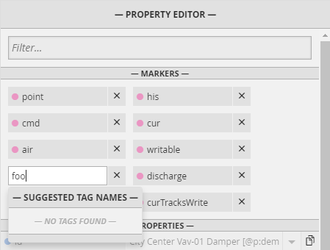
Then the user would select the first box to type in the tag name. Once selected, the user will also see a list of suggested tags to select and use or type what they want.
Then once typing in a tag name, the user can either hit the "Tab" or "Enter" keys to move to the next box on the right or just manually select it.
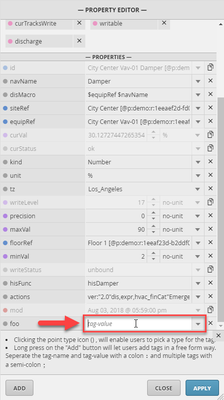
Once in the second box, the user can type in the value for the tag IF its going to be a property tag. To add as a marker tag, the user would hit the "Enter" key twice. That would add it as a marker tag.
If the user leaves both boxes empty and hits apply, it would just ignores those and not add anything.
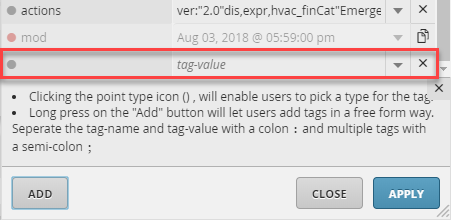
Another way to add tags is to select and hold the "Add" button to see the below space available to type in tags manually.
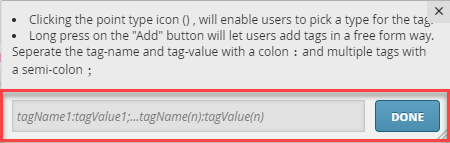
To add tags manually, they would be formatted like it shows in the image. Some common examples below for different types.
Marker Tag:
foo
Number Tag:
foo:15 with unit foo:15min
Bool Tag:
foo:false
String Tag:
foo:"value here"
Ref Tag:
foo:@p:demo:r:1eeb01fe-380485ec
To add multiple at one time, separate them with a semicolons.
foo; description:"example"; onDemand:true
Once done adding or if decided not to add any, select Done. Hit the Apply button after to add the changes.
Removing Tags
To remove tags, the user would simply click on the 'X' button next to the tags. Then apply those changes.
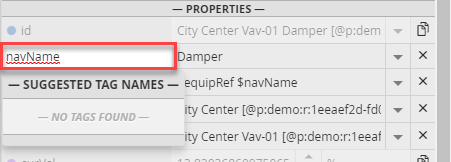
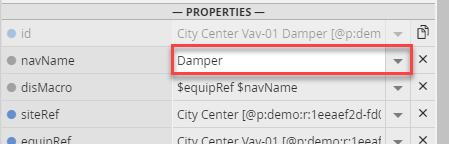
Modifying Tags
To modify existing tags, the user would simply select the tag name or value depending on what they are modifying.
To modify marker tags, the user would just select it and change it.
To modify property tag names or values, select either one.
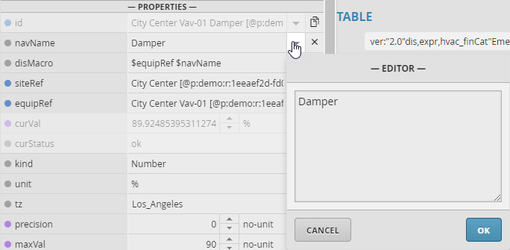
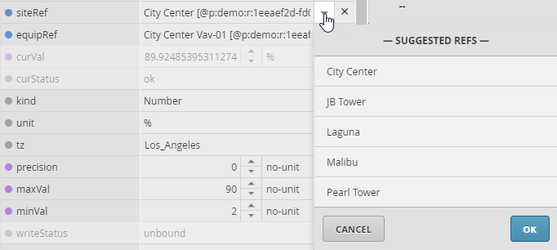
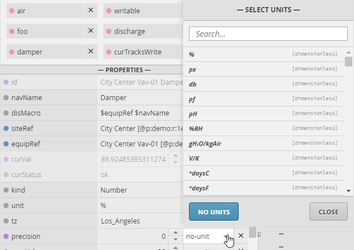
Depending on the properties, you'll also find either an editor, suggested refs, or select units windows.
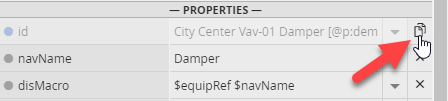
Copy Tags
If the user would like to copy a few of the tags that are locked, they can select the copy icon on the right side of that property tag. It would then put it in the clipboard to paste else where.