Niagara Schedule Update
- Petrescu, Ioana (FT D EU RO BP)
- Ricky Villa
- Kimberly Cruz (Unlicensed)
Sync Niagara Schedules
In order to sync the schedules made in Niagara (so that they can be read and written), the user will need to treat them as normal Niagara data points that need to be imported in the FIN project.
How to sync Niagara Schedules
- First step is to figure out if you will integrate using the Component Space or through the Site node of the haystack connector. If you are bringing in the schedules via the component space of the connector, there is no tagging that needs to be done in the Niagara station. Just find the point in the connector and drag and drop to the equip record container in the FIN Equip Tree. Then skip to step 3 below. If you are using the Site node of the connector, then continue with the following steps.
- There must be a Site node in the station (usually under the Config node). There must be an equip object in the folder that contains the schedule object. Make sure the equip object has been assigned the siteRef for the Site in the haystack slot properties. Add a haystack slot to the Niagara Schedule object.
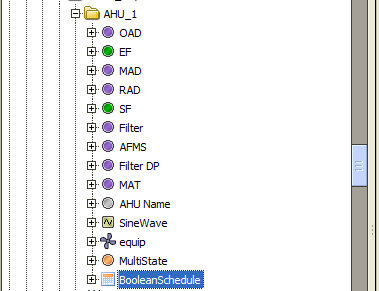
So the Schedule needs to be in a similar structure as the example below - meaning the schedule is in a Niagara device or folder that contains an equip object from the nHaystack palette.
(The equip must be assigned to the site using the siteRef tag.) That will allow the schedule to be seen as a point in that location by nHaystack and loaded in the cache.
To get a haystack slot on the schedule, drag and drop the schedule from the components space tree into the top bar in the N Haystack Service View. That will add the required Haystack slot to the schedule in Niagara. You do not need to edit this haystack slot. Just verify it was added to the schedule property sheet.
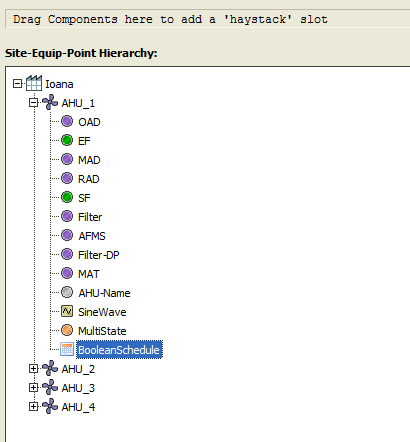
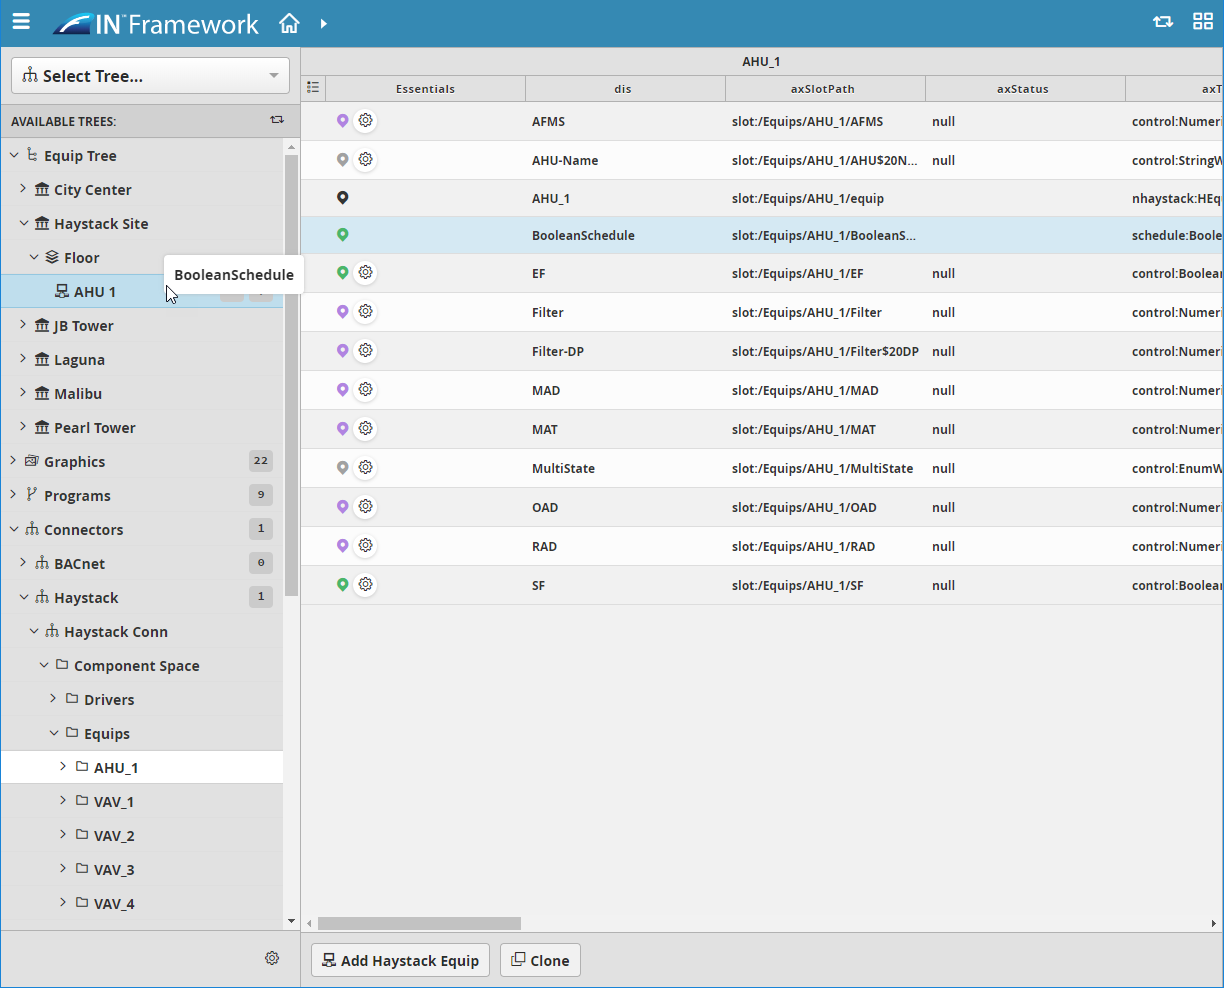
When the hierarchy is loaded in the N Haystack Service View, you should see the schedule and its parent in the site structure:
3. Next, create a connection to the Niagara Server in the DB Builder app -> Connectors Tree and import the schedule as a point from connector. You can get the schedule either from the Component Space or from the Site node of the connector. Depending on how you set it up in Niagara in Steps 1 and 2 above.
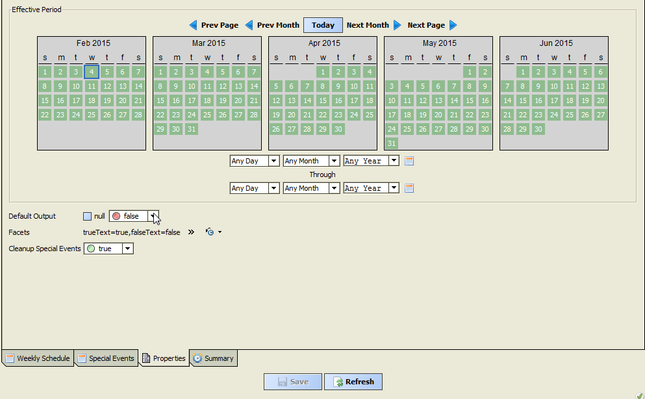
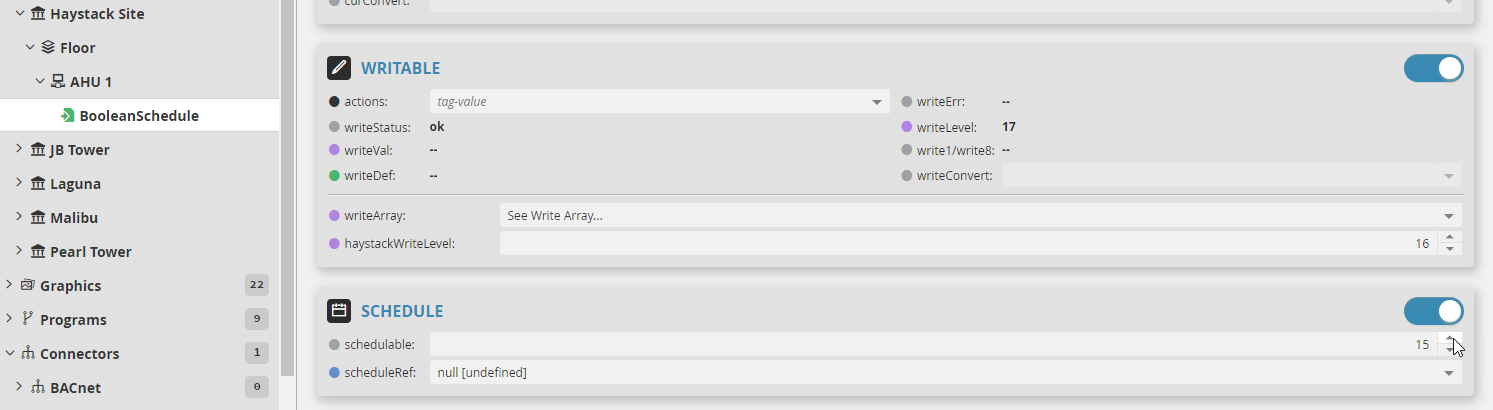
4. Once imported, select the schedule point in the Equip Tree. In the properties, enable the Schedule section to make it schedulable, select the priority level to be written to (default is 15), and hit Save to save settings.
5. Next step is to create a tuning policy for the point that has "Write Schedule" enabled for it. This tuning policy should only be specific to these points. How to create a tuning policy and assign it to specific points is explained here. Make sure to enable "Write Schedule" for it, or manually add the writeSchedule tag on the policy.
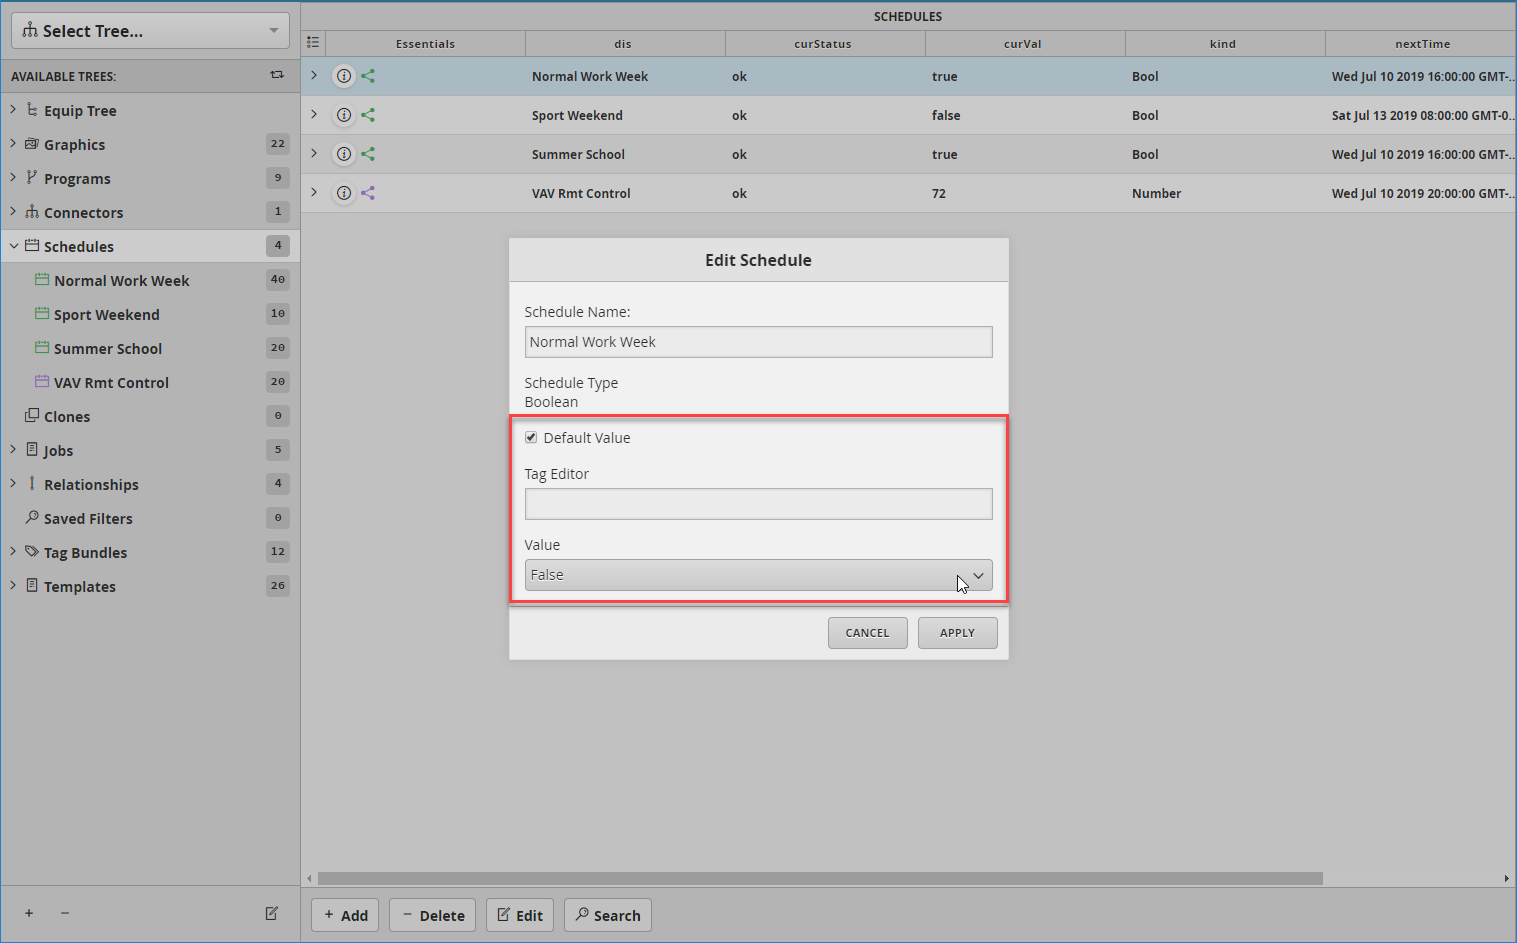
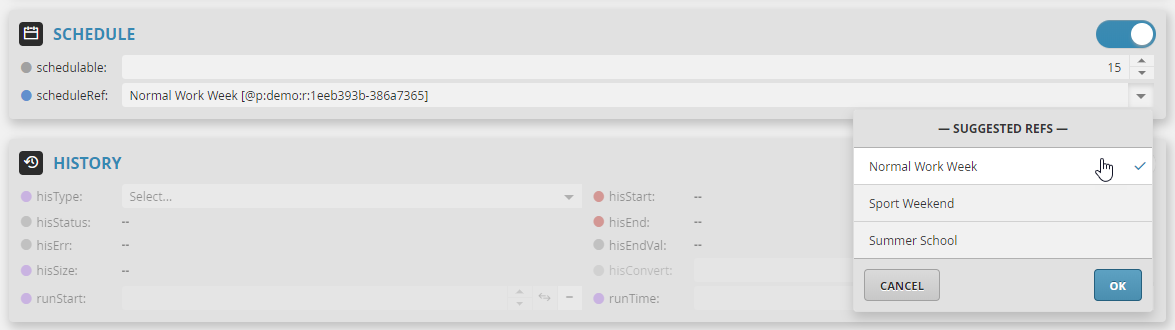
6. Once the tuning policy has been assigned to the point, create a schedule (or use an existing schedule). You can assign points to a schedule either through the Schedules Tree or Add Points to Schedule tool if schedule is already created. Or another way, if the schedule already exist, is to select it from the scheduleRef property like below and hit Save to apply changes.
NOTE: The schedule in the Niagara side will not update until there is a change to the FIN schedule output (COV).
It is very important that the schedule point from the Niagara default output is the same as the schedule in FIN that is controlling it.