DB Builder
- Petrescu, Ioana (FT D EU RO BP)
- Ricky Villa
- Gerard Huff (Unlicensed)
The DB Builder App
The DB Builder app contains functions, or trees, that allows users to add, delete, and edit project records.
Find the DB Builder App
To find the DB Builder app:
- Select the App Launcher menu.

- The DB Builder app is located in the System Integrator Apps section.
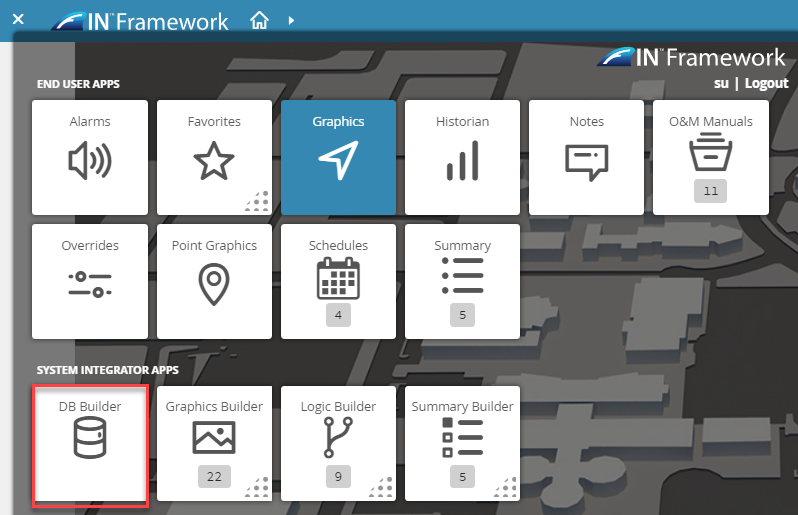
- Select the DB Builder icon to open the app.
DB Builder Features
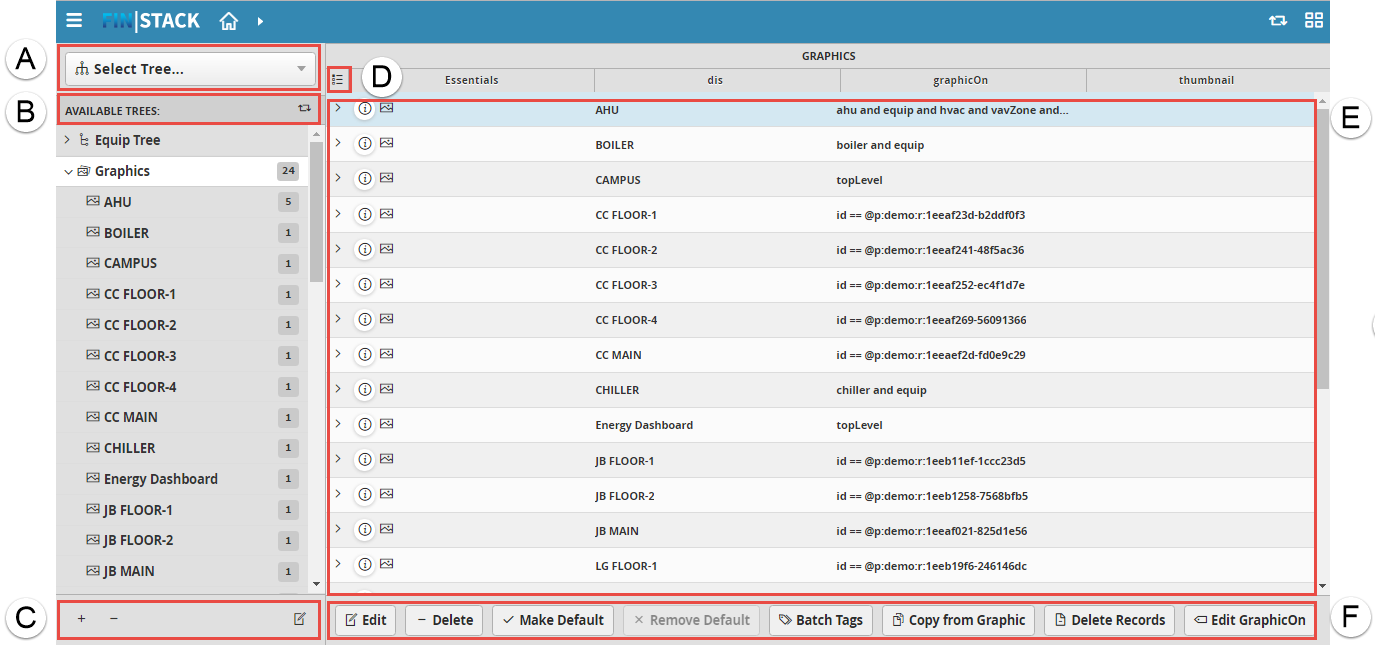
The main DB Builder window contains the following sections:
A. Select Tree menu
B. Available Trees menu
C. Available Trees tools menu
D. Grid settings
E. Grid view results
F. Grid tools menu
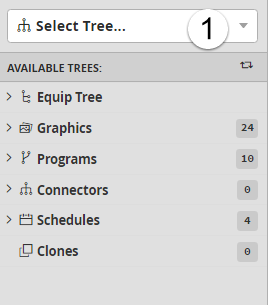
A. Select Tree Menu
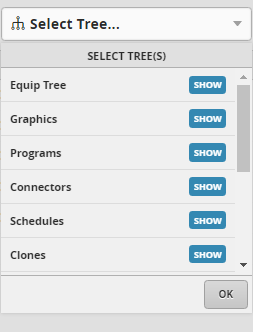
The Select Tree drop-down menu contains a list of trees that a user can display or hide in the Available Trees panel. See DB Builder Trees for the full list of available trees.
Edit the Select Tree View
To change the trees displayed:
- Select the Select Tree drop-down arrow.
- Select SHOW to display or hide the tree. A blue SHOW button indicates the tree is displayed; a gray SHOW button indicates the tree is hidden.
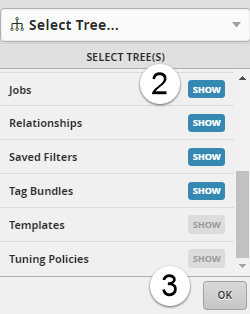
- Select OK.
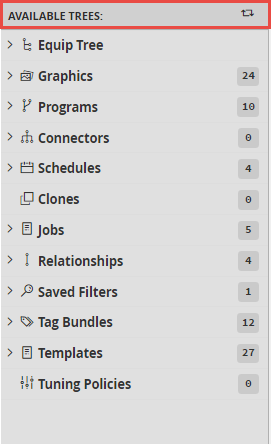
B. Available Trees
The Available Trees displayed in this view is determined by the trees shown or hidden in the Select Tree drop-down menu. See DB Builder Trees for the full list of available trees.
C. Available Trees Tools Menu
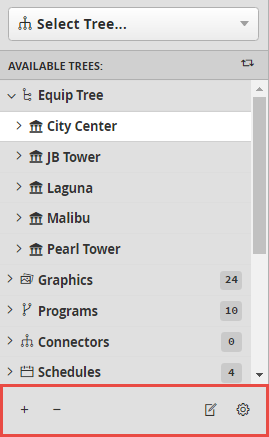
The Available Trees Tools menu is context-sensitive, which means that the available actions differ based on the selected tree and location:
- Use the add ( + ) symbol to add an item.
- Use the minus ( – ) symbol to delete the selected item.
- Use the edit (
 ) symbol to edit the selected item.
 - Use the gear (
 ) symbol to open the Tools Menu.
Add an Item
To add an item:
- Select an item from the Available Trees window.
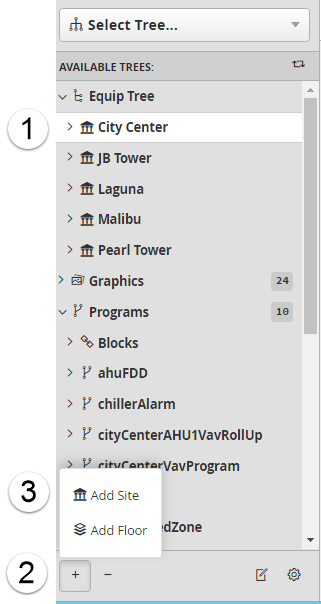
- Select Add ( + ) in the lower left corner of the window.
A menu appears. - Select the item to create.
Additional windows may appear to add the item. For example, to add a new site, the following window is displayed:
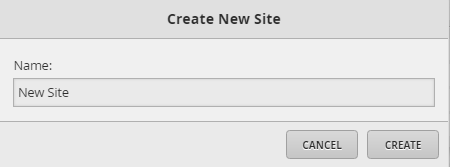
The user must enter a new site name in the text box, then select CREATE to successfully add a new site. In the Equip Tree, you can use the Add ( + ) button to add Sites, Floors, Equips, and Points.
Delete an Item
To delete an item:
- Select an item.
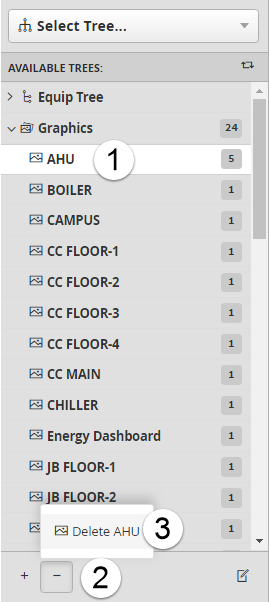
- Select Delete ( – ) .
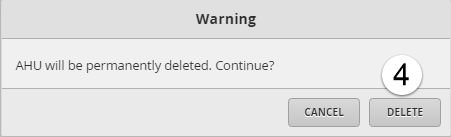
A menu appears. - Select Delete (Item name).
A warning that the item will be permanently deleted is displayed. - Select DELETE.
Edit an Item
To edit an item:
- Select an item.
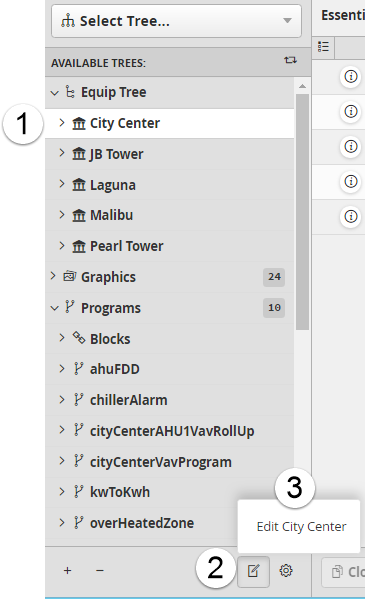
- Select the Edit button.
A menu appears. - Select Edit (Item name).
The PROPERTY EDITOR opens.
- Edit fields.
- Select ADD.
- Select APPLY.
For more information about use of the Property Editor, see Property Editor.
Open the Available Trees Tools Menu
To open the Tools menu:
- Select an item.
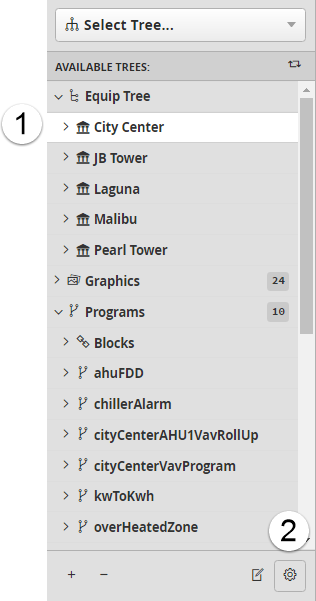
- Select Tools .
The available tools differ based on your location in the application.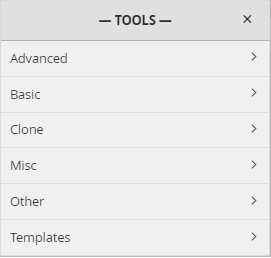
D. Grid Settings
The grid settings button allows the user to select the column settings that display in the grid view.
Adjust the Grid View
To adjust the grid view:
- Select the grid settings button.
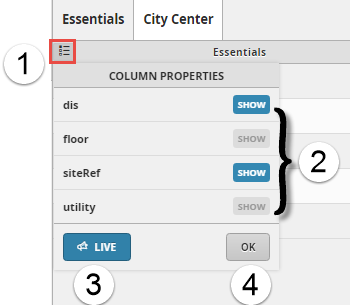
- Select SHOW to display or hide the property. When SHOW is blue, the property will be shown in a column. When SHOW is gray, the property will be hidden.
- To monitor values in real-time, select the LIVE button. When the LIVE button is blue, the live view will be displayed.
- Select OK.
E. Grid View Results
Project data is displayed through a grid view for all DB Builder trees. (The Equip Tree also displays data in tab and Essentials views.)
The columns displayed in this view depend on the column properties set (shown or hidden) in grid settings.
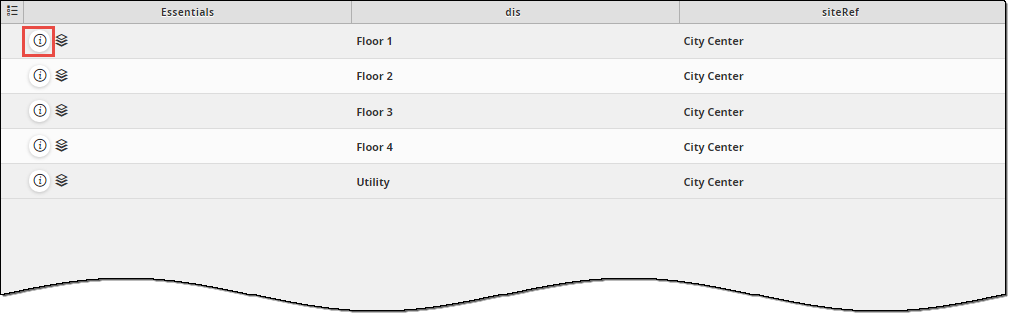
Display the Property Editor
- Select the 'i' icon to open the Property Editor, which displays all tags used for that record.
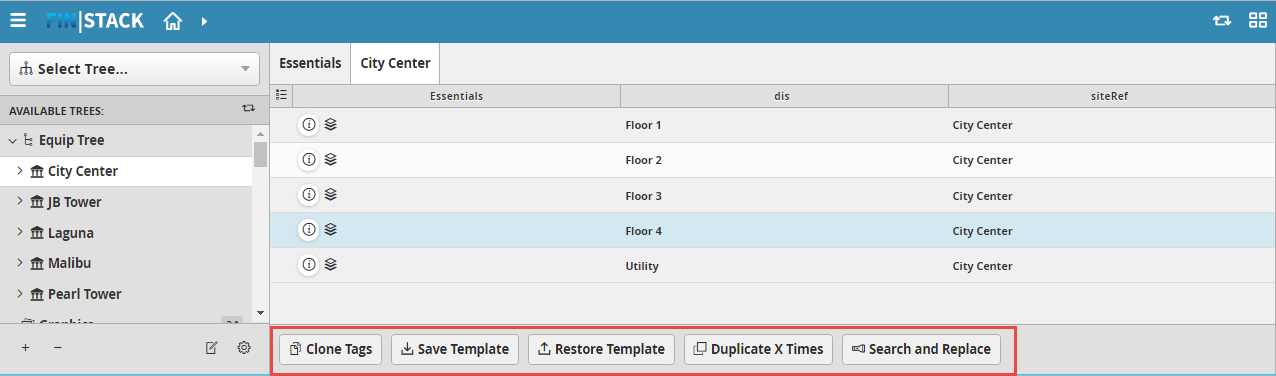
F. Grid Tools Menu
depend on your location in the application.
If present, grid tool menu functionality is described on individual trees' pages; see DB Builder Trees for the full list of trees.