Builder Edit Menu (Right)
- Christopher Simonian
- Ricky Villa
- Gerard Huff (Unlicensed)
- Kimberly Cruz (Unlicensed)
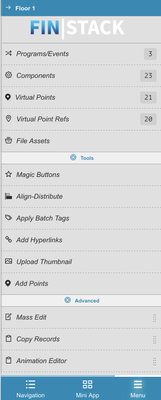
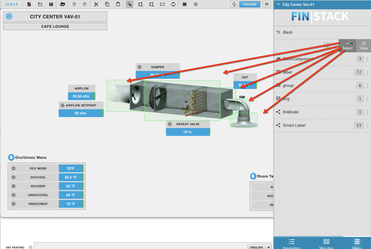
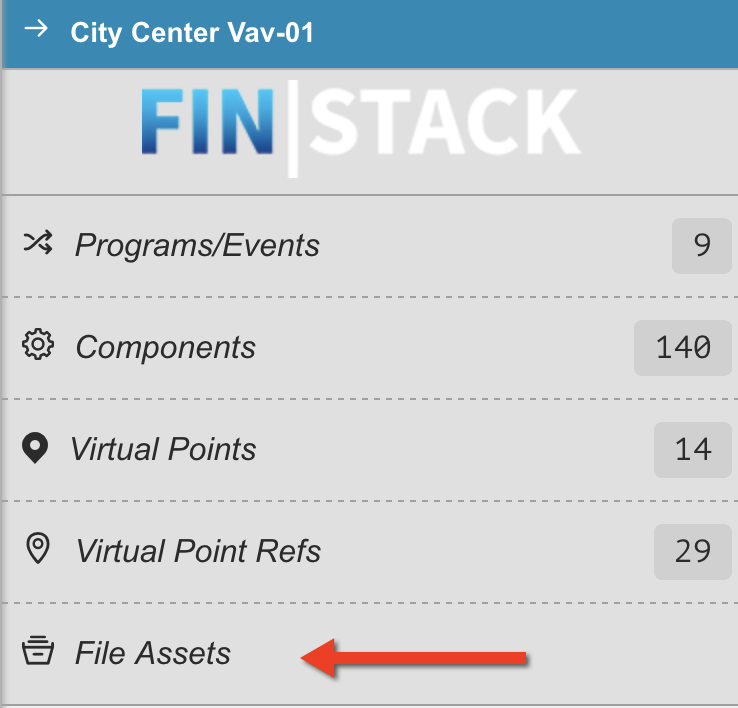
Right Builder Menu
The right menu brings up a "Builder Specific" menu that contains many powerful Graphic Builder tools.
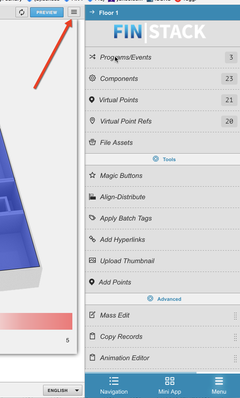
Recovering the Builder Menu View
If you ever loose this menu view and need to get back to it, (assuming the graphic builder is open) all you have to do is click on the "hamburger" style icon towards the top right of the screen )(next to the preview button) once, and it will bring your menu back!
Program/Events
Here you can create program and events that will run on user specified tags to perform special commands on your graphic.
More info on Programs/Events can be found here: GB Programs & Events
Components
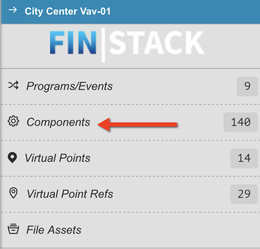
Clicking on the "Components" option will open up a new smart menu view that categorizes each of the components into sub-sections.
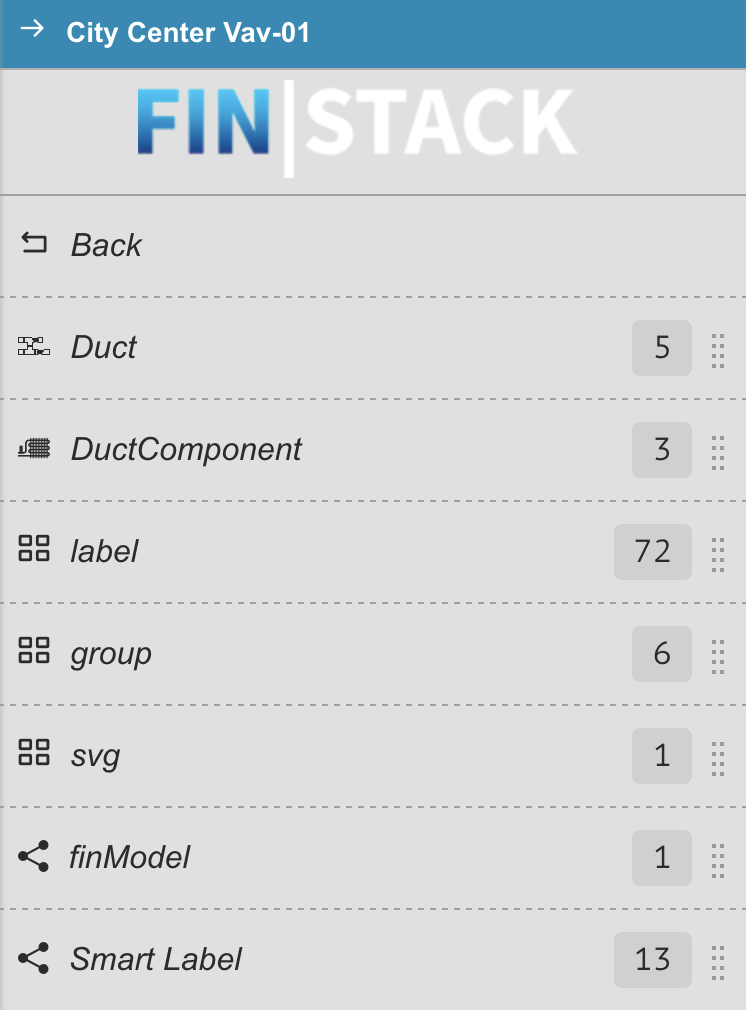
(As seen in the above screenshot) Examples of these sub sections would be: Ducts, Labels, SVGs, finModels, SmartLabels, Groups, etc.etc.
By clicking on any sub-category you will get 2 options - Select & View
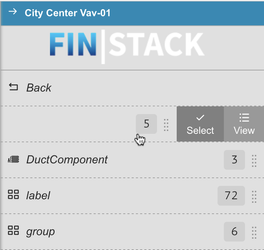
If you choose the "Select" action, it will automatically select each component in the work space.
This is extremely helpful when trying to do a mass edit, without having to manually select everything.
If you select "View" it will change the menu to show all of the available components in that category and allow you to select them individually or remove them.

Virtual Points
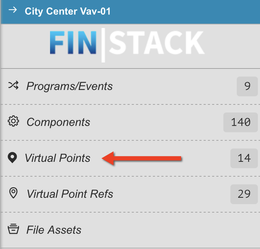
More information on the Virtual Point section can be found here: Virtual Points
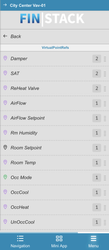
Virtual Point Refs
The Virtual Point Ref section is great for reviewing which bindings are existing within the graphic.
The number shown next to the Virtual Point Ref tab text indicates how many "virtualPointRef" bindings are currently in the graphic.
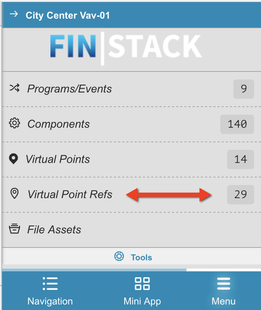
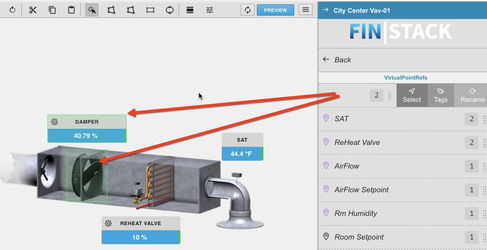
By clicking on the Virtual Point Refs tab you will open a new menu view that shows you all the points that are currently virtualPointRef's and how many objects they are being referenced by.
By click on any of the points in that list you will open up 3 new options:
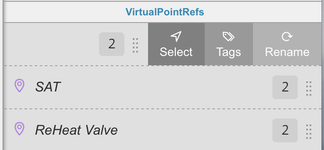
Select
If you press the select option, it will select every component/object that has a virtualPointRef aiming that particular point.
Tags
By selecting this option, you will be able to add a tag to every object that has a virtualPointRef aiming at the selected point.
Rename
The Rename option allows you to rename the point within the graphic. (the point isn't renamed in the database...only gets a different display name within the graphic).

File Assets
More info coming soon!
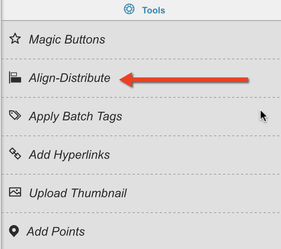
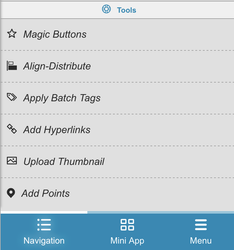
Magic Buttons
Magic Buttons are a series of very helpful tools that can be used within the graphic's builder app to help do common graphical edits much quicker/easier.

To find out more about Magic Buttons please jump to the following section: Magic Buttons
Align/Distribute
Align Distribute offers you a number of options to help Align/Distribute objects within the Graphic Builder's workspace. You'll have options for Horizontal & Vertical Alignment & Distribution.
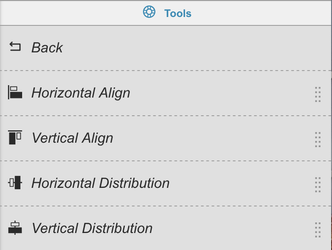
Horizontal Align
Horizontal Align has options to align to the Left, Right or Middle

Below are examples of what each horizontal align option does:
Left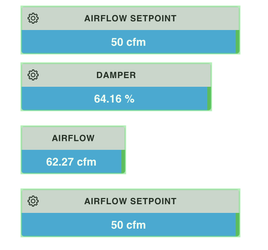 Right
Right Middle
Vertical Align
Vertical Align has options to align to the Top, Bottom, Center

Below are examples of what each horizontal align option does:
TOP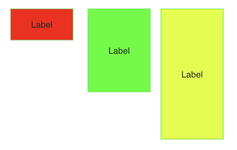 BOTTOM
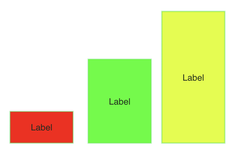 CENTER
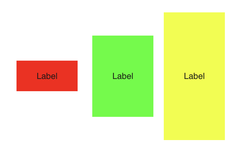
Horizontal Distribution
Horizontal Distribution allows you to evenly distribute the objects based on their left edge, right edge or middle.
Vertical Distribution
Horizontal Distribution allows you to evenly distribute the objects based on their top edge, bottom edge or center.
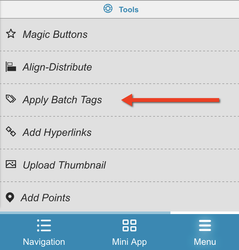
Apply Batch Tags
Apply Batch tags is a very powerful feature that appears in several applications of FIN Stack.
In the Graphics Builder, the Apply Batch tags is used to apply tags to multiple (or single) objects within the graphic via filter/wizard.
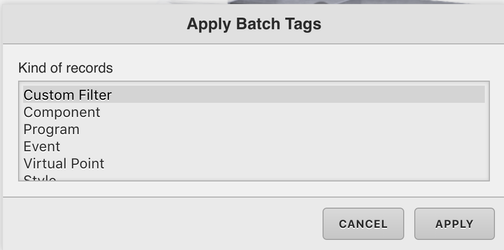
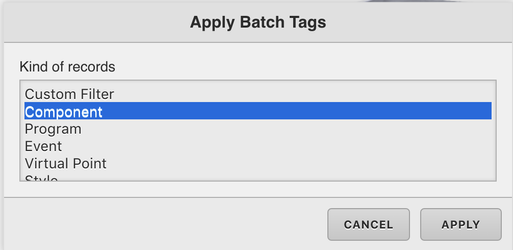
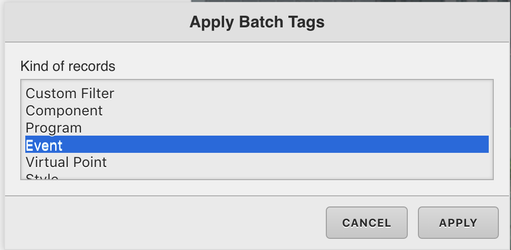
When first opened, the Apply Batch Tag allows the user to select between different types of possible objects that can exist in the graphic.
This can help single out exactly what you need without having to learn advanced query filters.
Formats
When applying tags to objects each type of tag has a certain format that needs to be followed, see examples below to get a better idea of what they are:
- Marker - Example: marker or markerTag (first letter must be lower case)
- String - Example: stringTag:"Any Text You Want"
- Numeric - Example: numberTag:71
- Boolean - Example: booleanTag:true or booleanTag:false
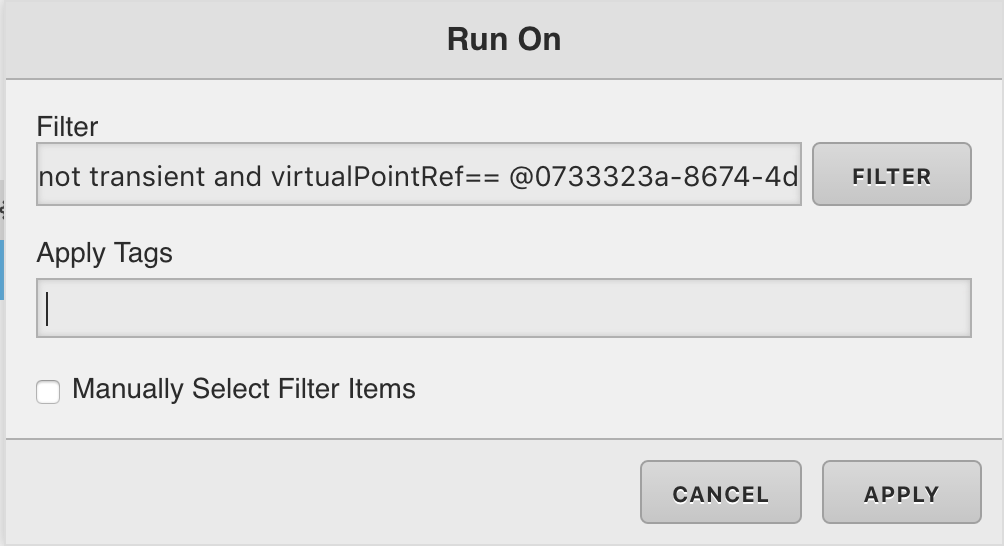
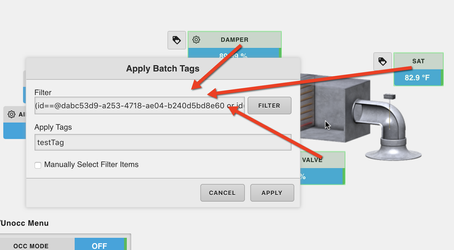
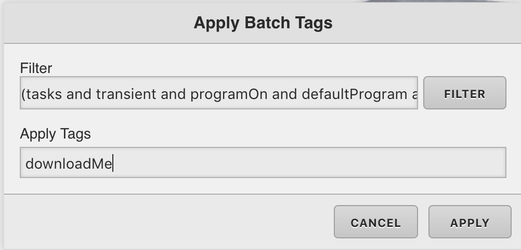
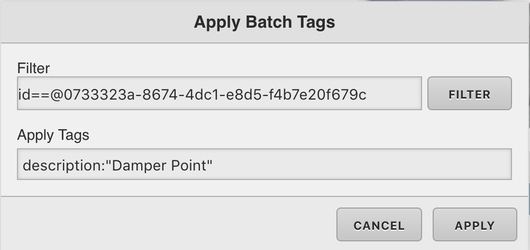
Custom Filter
When you select Custom Filter, it allows you to manually type in your Filter and the tag(s) that you would like to add.
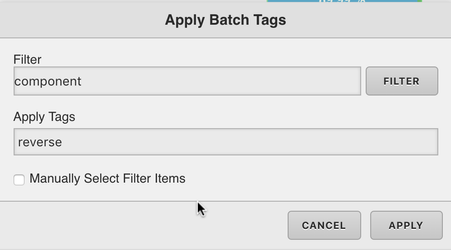
Filter: Allows the user to filter/determine what objects will be effected within the graphic
Apply Tags: This section is where you type in the tags you will like to apply to the objects that match the above filter
Manually Select Filter Items: when enabled, this option will show you a list of objects that match your filter and allow you to manually select which ones will be effected, if disabled it will apply the tags to everythign that matches the filter.
Component
The Component Apply Batch Tag option is an easy way to apply batch tags to components within your graphic
As soon as you hit apply, a list of "components" will come up. This query gathers every object with the "component" tag and allows you to select single or multiple of them to apply batch tags to,.
Hold down either the CTRL or SHFT key to multi-select.
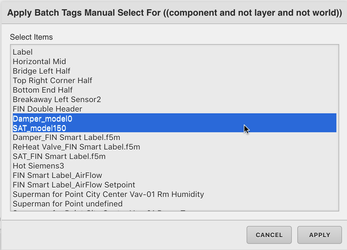
Once you've selected the components you would liek to add a tag to hit "apply" which will take you to the Apply Batch tag form.
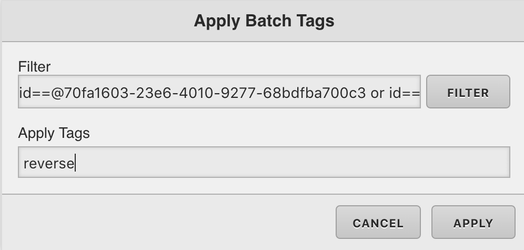
The selected components from the previous form will automatically be added into the filter.
You may type in any type of tag (using the correct format listed above) to add tags
Program
The program option allows you to quickly and easily select from a list of available programs and add tags to them.
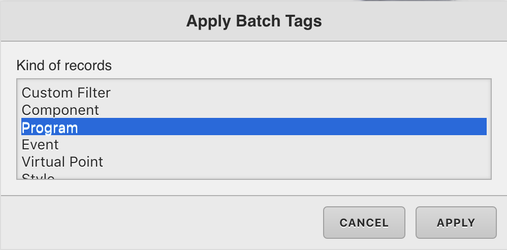
The first form brings up a list of available Programs for the user to choose from. Hold down either the CTRL or SHFT key to multi-select.
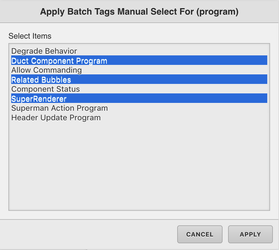
The Apply button will then automatically fill out the "Filter" with the selected programs and also allow you to add a tag (or tags) to them.
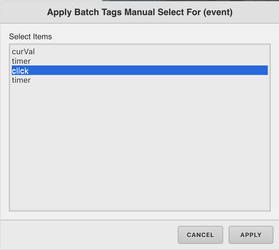
Event
The 'Event' option allows you to quickly and easily select from a list of available Events and add tags to them.
The first form brings up a list of available Events for the user to choose from. Hold down either the CTRL or SHFT key to multi-select.
The Apply button will then automatically fill out the "Filter" with the selected Events and also allow you to add a tag (or tags) to them.
Virtual Point
The 'Virtual Point' option allows you to quickly and easily select from a list of available Virtual Points and add tags to them.
The first form brings up a list of available Virtual Points from within the graphic for the user to choose from. Hold down either the CTRL or SHFT key to multi-select.

The Apply button will then automatically fill out the "Filter" with the selected Events and also allow you to add a tag (or tags) to them.
Add Hyperlinks
The Add Hyperlinks tool helps users create hyperlink buttons/icons quickly and easily
When you first click Add Hyperlinks, a form will appear asking you what type of Hyperlink you want to create.

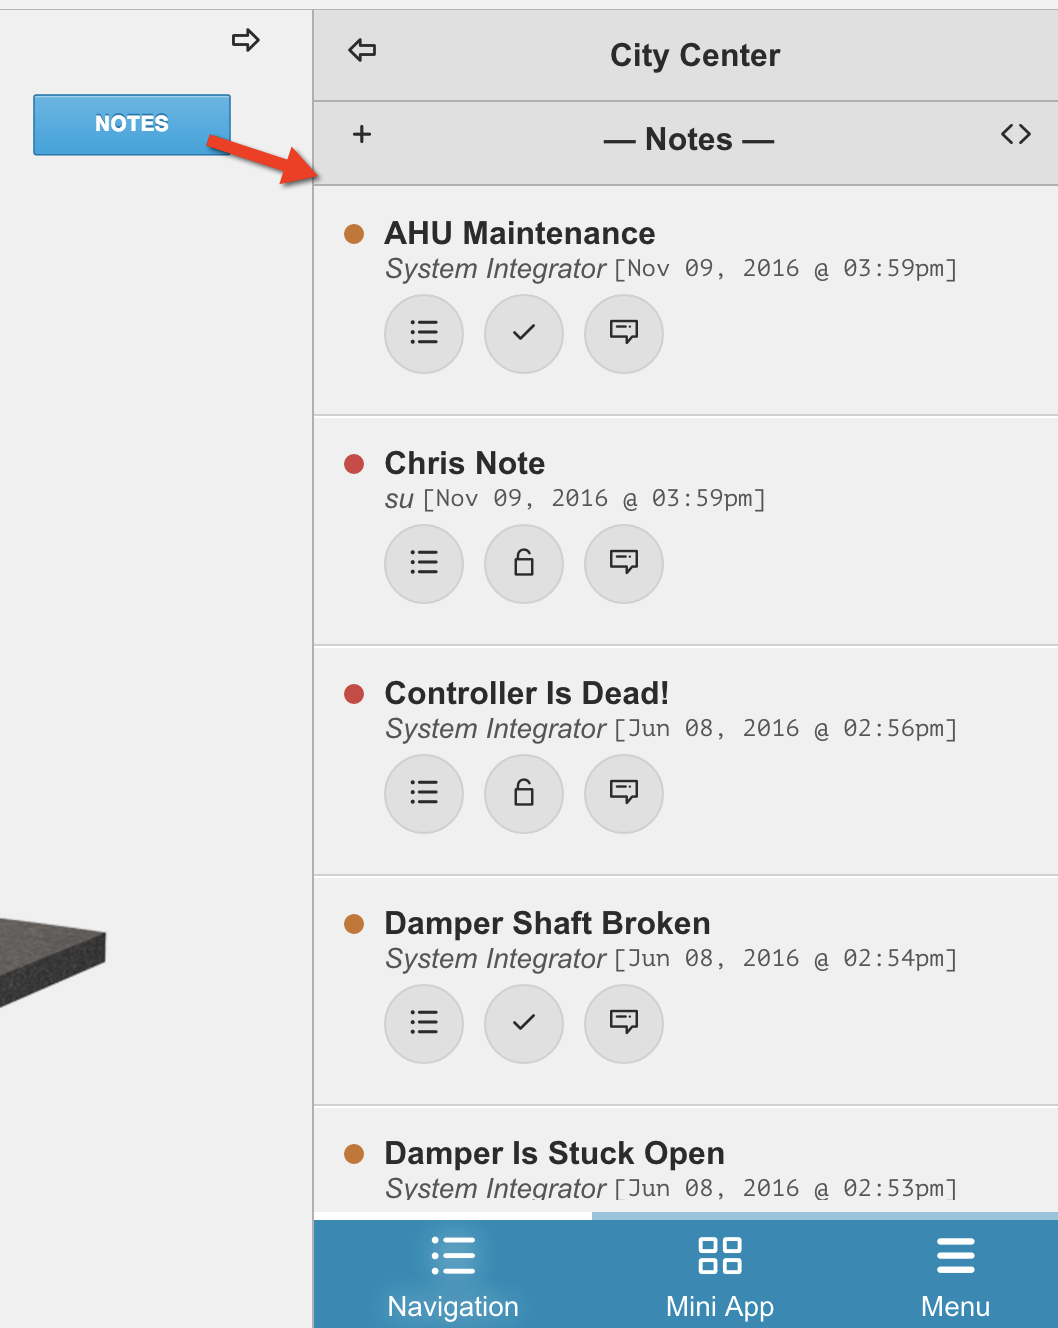
Notes
If you selected to make a "Notes" hyperlink, the next form will ask you to choose between a button or an icon.
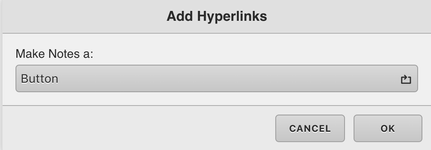
The hyperlink will automatically be created and will open the "Notes" sub-app equip/floor/site you are viewing the graphic on when its clicked.
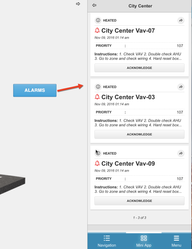
Alarms
If you chose to make a "Alarms" hyperlink, the next form will ask you to choose between a button or an icon.
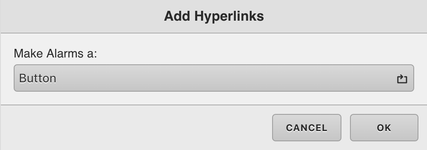
The hyperlink will automatically be created and will open the "Alarms" sub-app for the equip/floor/site you are viewing the graphic on when its clicked.
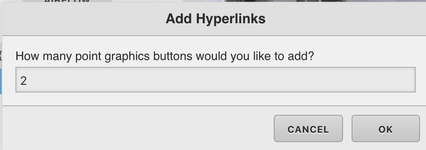
Point Graphics
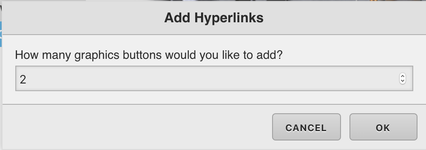
If you chose to make a "Point Graphics" hyperlink, the next form will ask you how many hyperlink buttons/icons you would like to add.
The next window will allow you to choose the following for each Hyperlink:
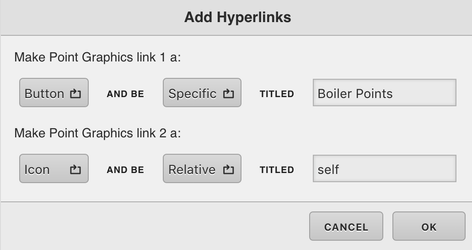
- Button/Icon: This allows you to choose between the a button or an icon for the hyperlink.
- Specific/Relative: Specific will aim at a specific graphic & equipment - Relative will bring up the current equipment's Point Graphics.
- Titled: Allows you to set up a text title for the button
The final window will allow you to select which equipment's point you would like the "specific" hyperlinks to bring up.
Relative has no option as it will always open the Points for the equipment you are currently viewing:
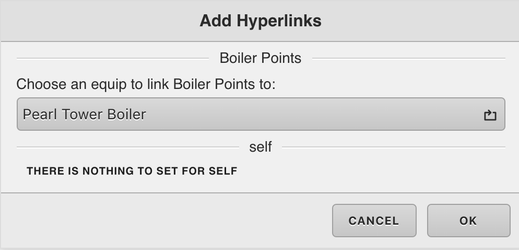
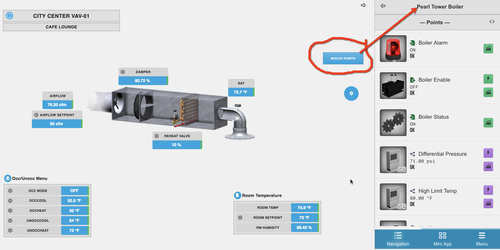
In this example, the "Specific" hyperlink button brings up the Pearl Tower's Boiler Points
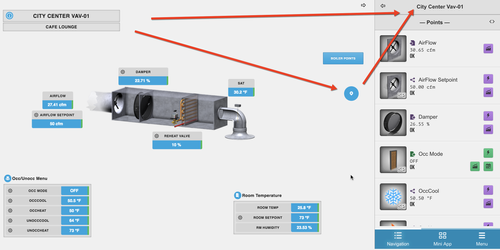
The "Relative" hyperlink icon brings up the VAV-01's point since that is the equipment we are currently on. If we where viewing VAV-02, it would bring up VAV-02's points.
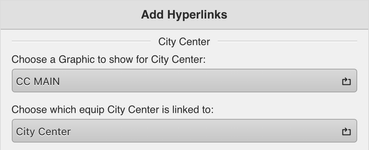
Graphics
If you chose to make a "Graphics" hyperlink, the next form will ask you how many hyperlink buttons/icons you would like to add.
The next window will allow you to customize your hyperlink:

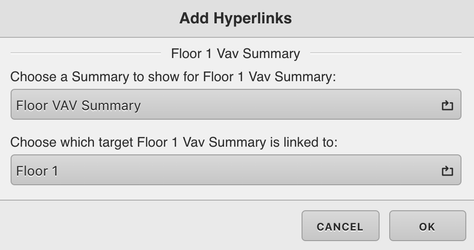
- Specific: will allow the user to select exactly which graphic and exactly which equipment avialable to that graphic will be loaded
- Relative: will allow you to select a 'ref' to determine the graphic that comes up (example: flooRef will bring up that equipment's floor ref's graphic)
On a specific graphic hyperlink, you must first choose the graphic you want to go to, then the dropdown below will be populated with equipment that the graphic is running on.
On a "Relative" graphic hyperlink you only get to choose between all the available refs based on your context.
So if you're on an equipment, you will get the option to choose any of its refs (siteRef,floorRef,ahuRef etc.). This button will, in turn, bring up any graphic that is bound to the selected ref.
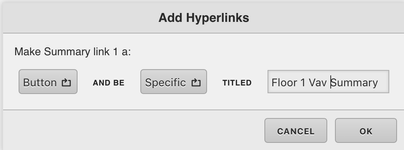
Summary
If you chose to make a "SUMMARY" hyperlink, the next form will ask you how many hyperlink buttons/icons you would like to add.

The next window will allow you to customize your hyperlink (Button/Icon - Specific/Relative - Text Title):
Schedule
Web Page
Historian
Sub Menu
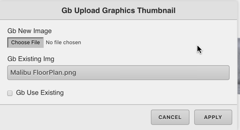
Upload Thumbnail
The Upload Thumbnail option allows you to upload a thumbnail image to represent that particular Graphic file when viewed in the mini app section within your Smart Menu.

You can upload a new one, or select an existing image within the FIN Stack server.
Add Points
The Add Points option allows the user to add new points to the graphic if needed.

When selected, the below pop up will appear.

The options the user has are below:
- Relative: By Tags - this means that the user can add points by their tags. So the binding of the point will consist of tags. This is great for when you have multiple points with different names but are tagged properly. (NOTE: If points don't have sufficient tags, it automatically appends the navName of the point)
- Relative: By navName - this means that the user can add points by their navName. So the binding of the point will consist only of the navName and not tags. This is great for when all the points are named the same, or the database isn't tagged up, and fewer issues if points are missing tags.
- Absolute: By Point Ids - this means that the user can add points by their ids (hardcoded). So the binding of the point will consist of the point id. This is great for when adding points from different equipment and its not a relative graphic like a Central Plant for example.
Relative By Tags or navName
When choosing either relative by tags or navName, the user will be prompted with the below pop up.
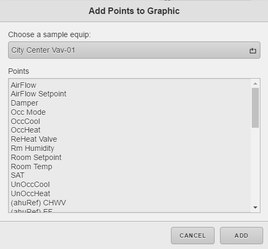
From here, the user can select the equip based on what the graphic is running on (graphicOn). Its needed really needed to choose an equip since they are all the same. Unless there is a use case where some points only exist on some equips. Then the user can select which equips to add and select the Add button.
Absolute
When choosing to add points by absolute, the user will be prompted with the below pop up.
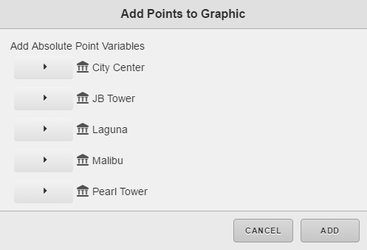
From here, the user will see a navigation structure of their db that they can use to navigate to their points. Then choose whatever points needed to add to the graphic.
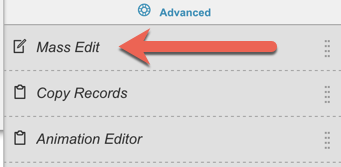
Mass Edit
Mass Edit allows the user to do mass edits across multiple components within the workspace.
Copy
The Copy option copy's the properties and stores of the selected objects it in the clipboard so that it can be pasted using the same tool.
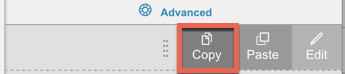
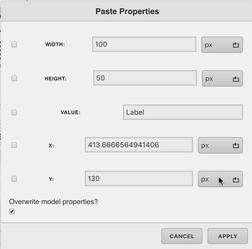
Paste
The Paste option will take what has been copied, and then brings up a list of the common properties shared by the objects that are currently selected in the workspace, and allows you to paste the copied properties onto them.
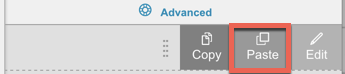
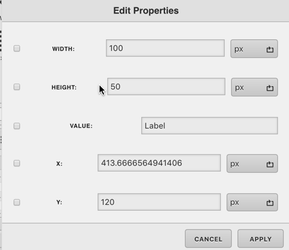
Edit
Edit brings up the selected objects common properties and allows you to edit them manually (does not automatically use the copied properties)
Copy Records
Copy records allows you to copy/paste records between graphics and also allows you to download/upload records from with your graphic to transfer across projects or to simply have as a template or backup.

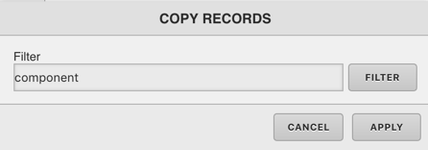
Copy
Copy allows you to copy records from within the graphic.

When you click Copy, a search function will come up. The Results of the search will be copied and available to paste.
Paste
Paste allows you to take the copied records to paste it into any other graphic page.

Download
The download option is great for backing up a record or records and saving them as template, or simply to transfer them between projects.

When you click on the download button, a window will pop up asking you what type of records you would like to download. Use 'ctrl' key to select multiple filters.
You also have the option to type in your own custom filter.
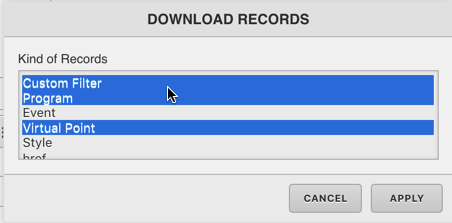
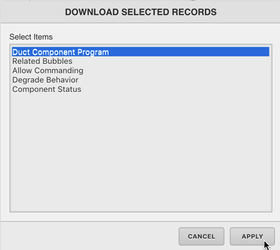
Once you select a filter, it will bring up the results and allow for you to select which records you'd like to download.
Below is an example of the results of a program filter:
See STEP-BY-STEP GUIDE on how to download/upload a program
Upload
Upload allows you to upload a downloaded zip containing graphics records.

See STEP-BY-STEP GUIDE on how to download/upload a program
Animation Editor
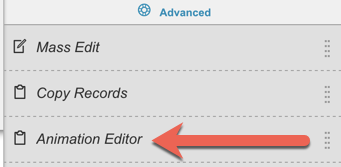
The user can learn more about the Animation Editor here.